


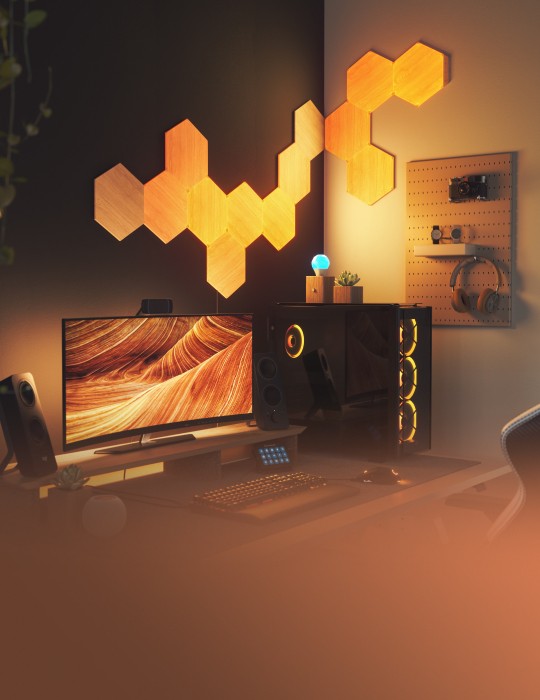


Installing Your Blocks
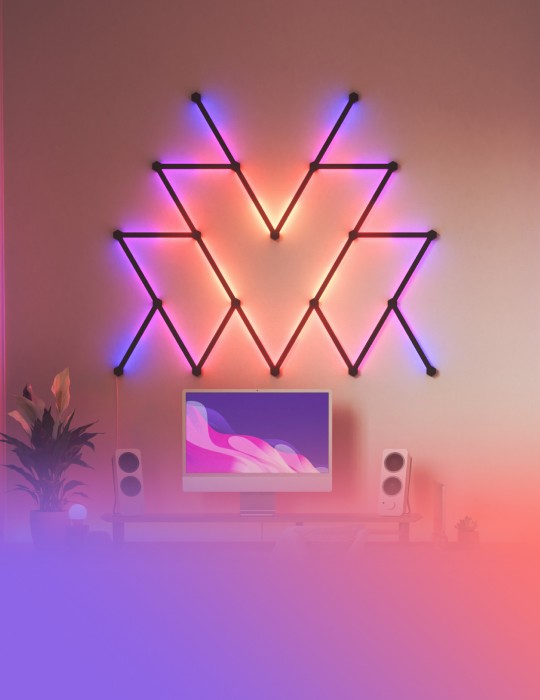
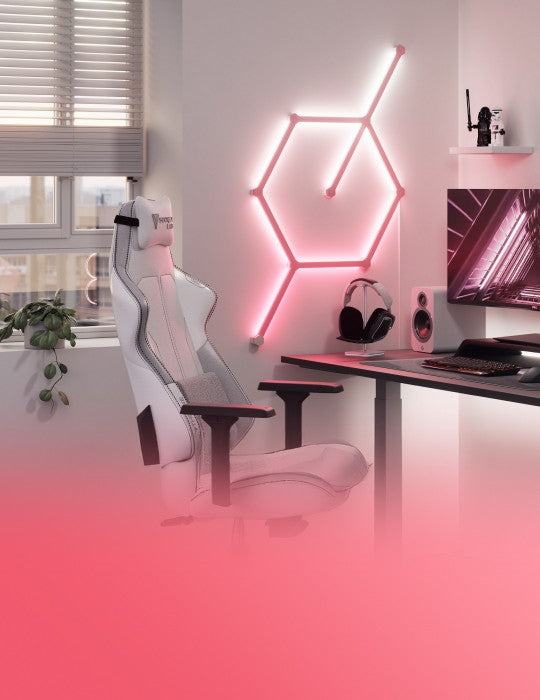
Installing Light Pegboards
A single pegboard has a weight bearing capacity of 3kg (6.6lbs).
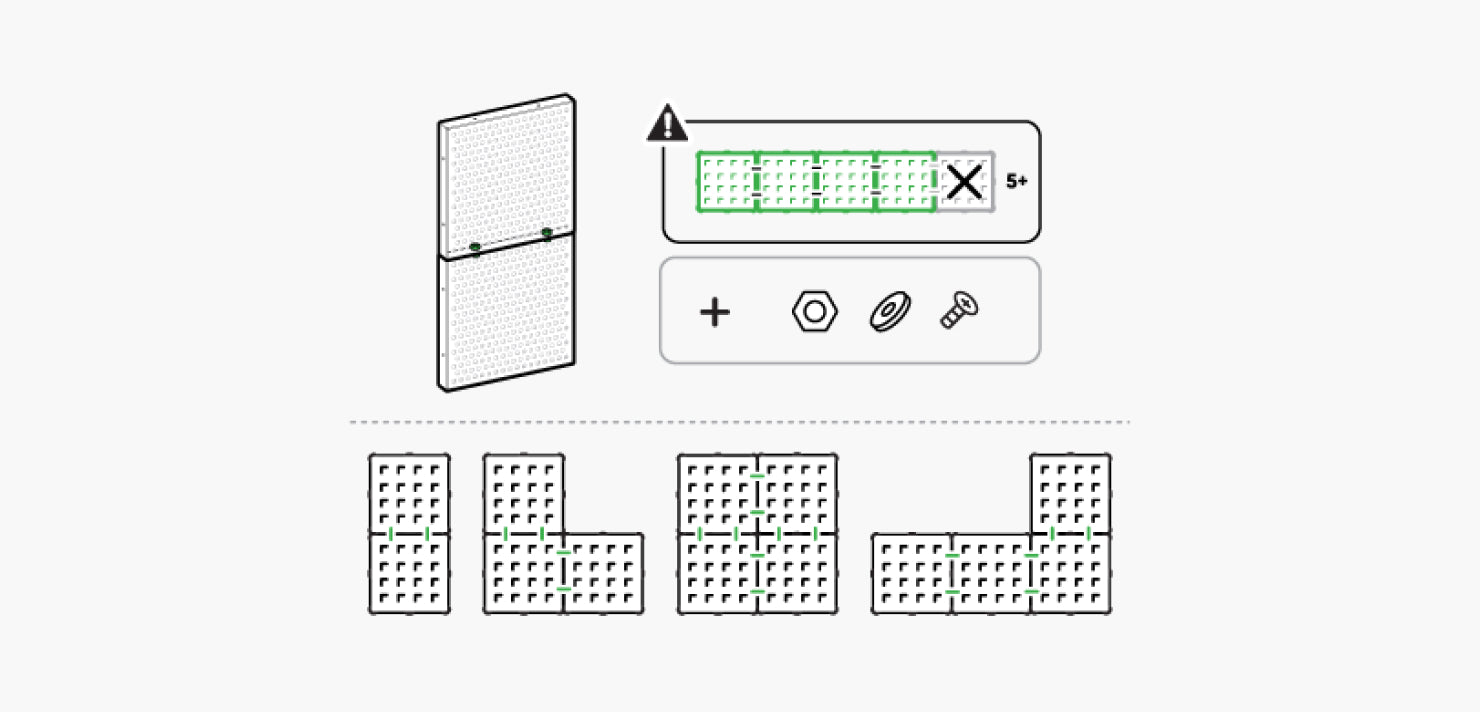
You can also reduce the number of screws on your wall by only screw mounting the outer corners of your pegboard cluster. This is only applicable for smaller clusters (max 4).
Here are some examples of pegboard clusters and the corners (marked in green) that would need to be screwed into the wall.
If you have more than 5 pegboards in your layout, we suggest spreading them out or grouping them in smaller clusters (max 4).
If you need to have 5 or more pegboards in a cluster, you must screw-mount all four corners of each pegboard.
Important
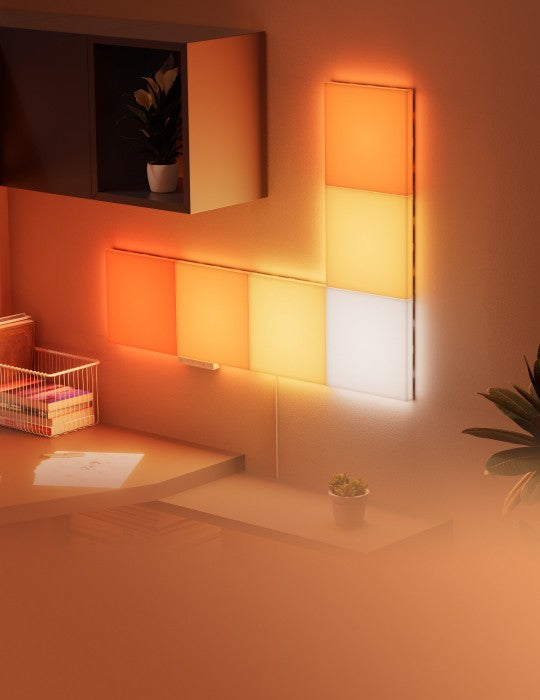
You can have multiple light pegboards in one layout, but we suggest a max grouping (cluster) of 4 for a more stable and secure installation.
Mounting Light Pegboards
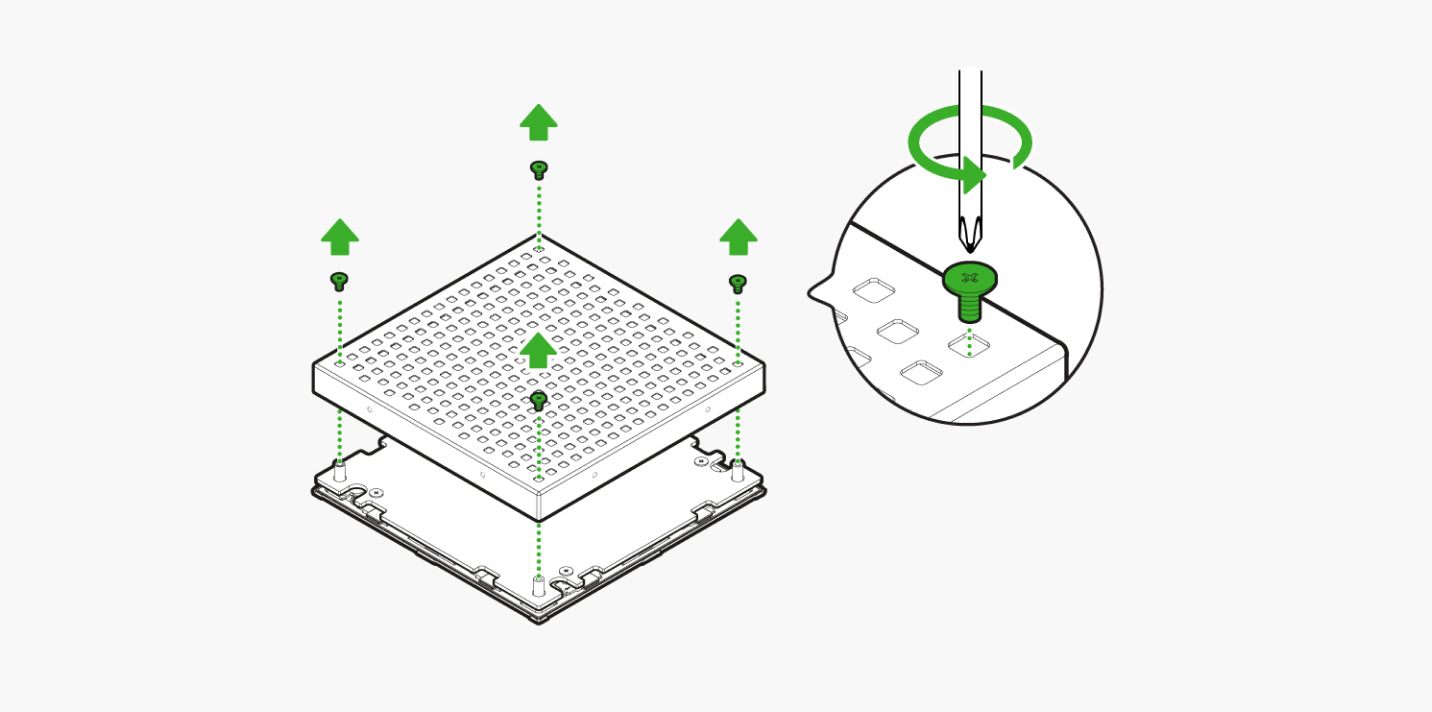
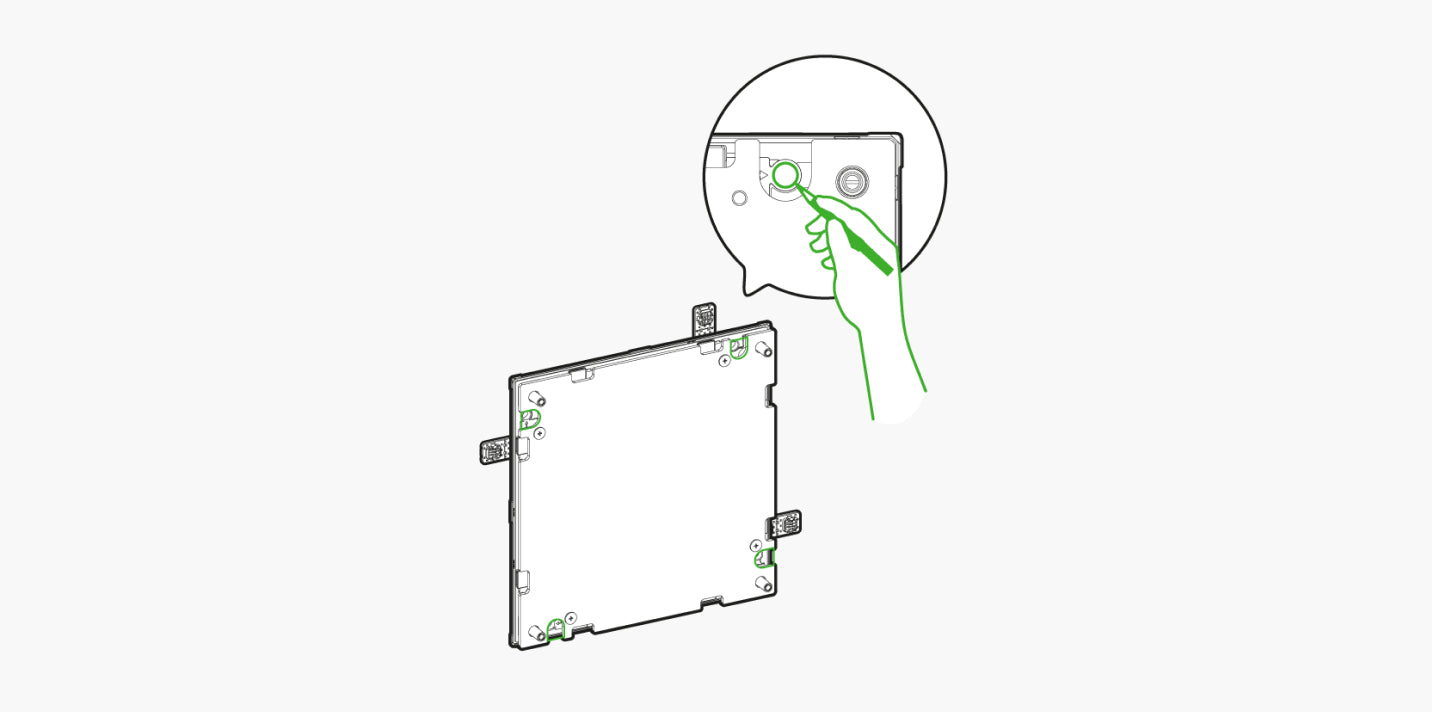
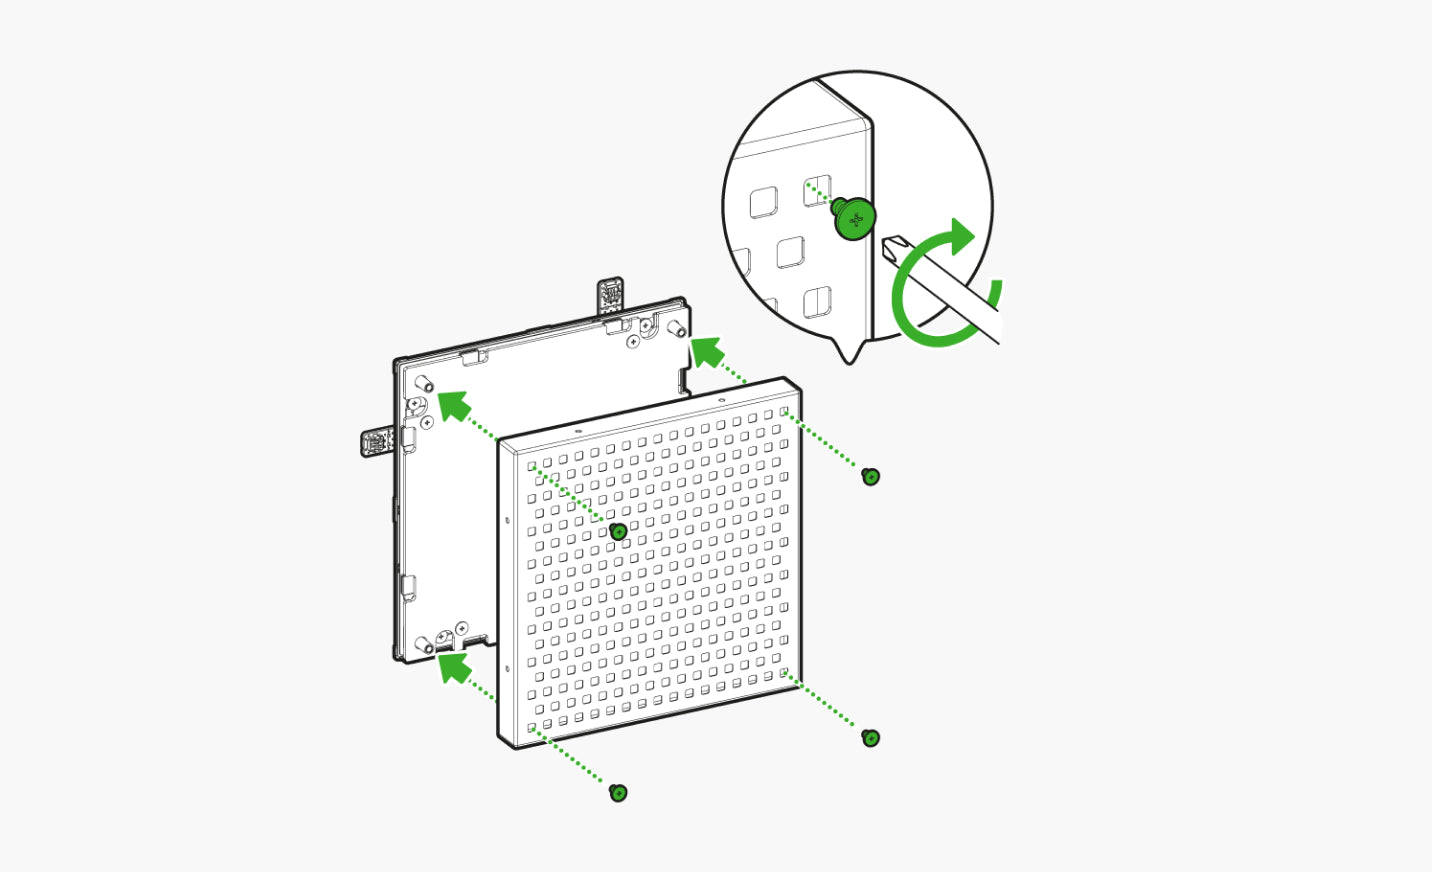
- Unscrew the pegboard cover from the back panel with a screwdriver. Keep the screws for a later step.
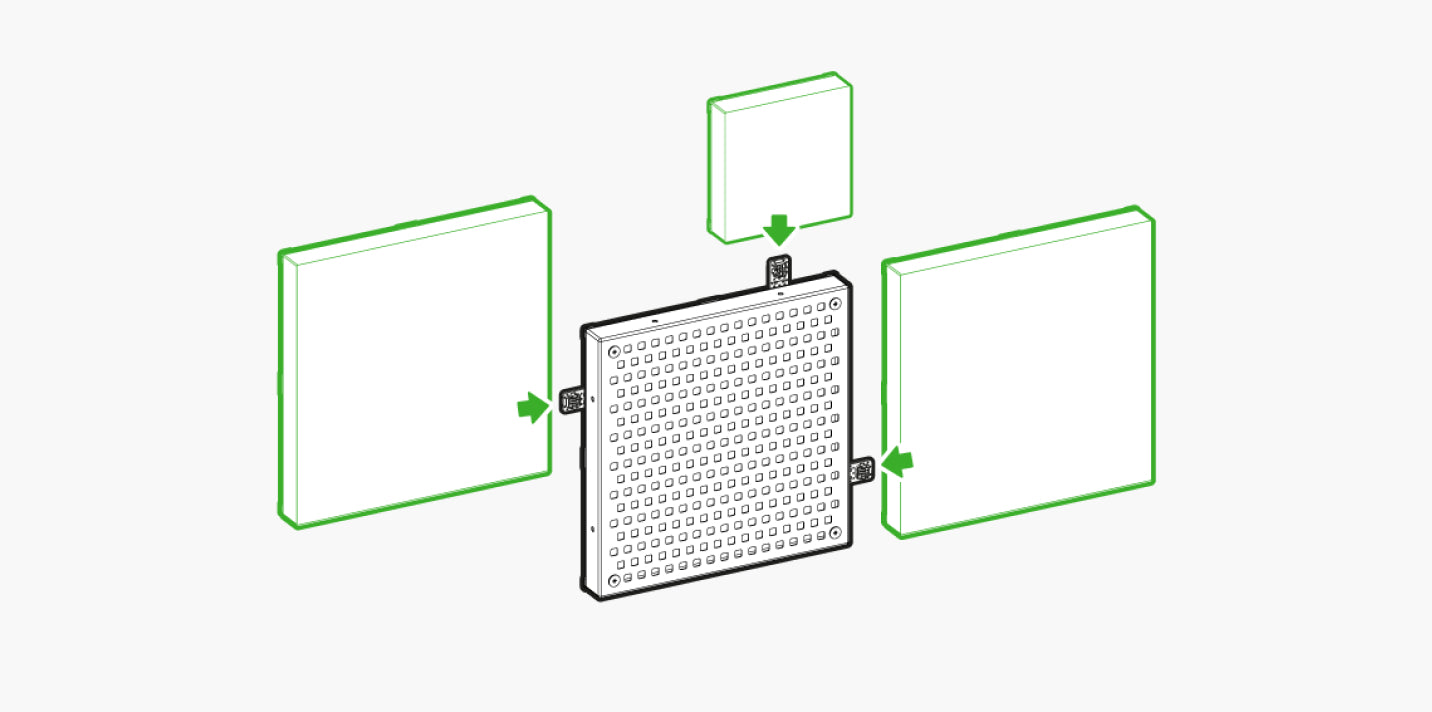
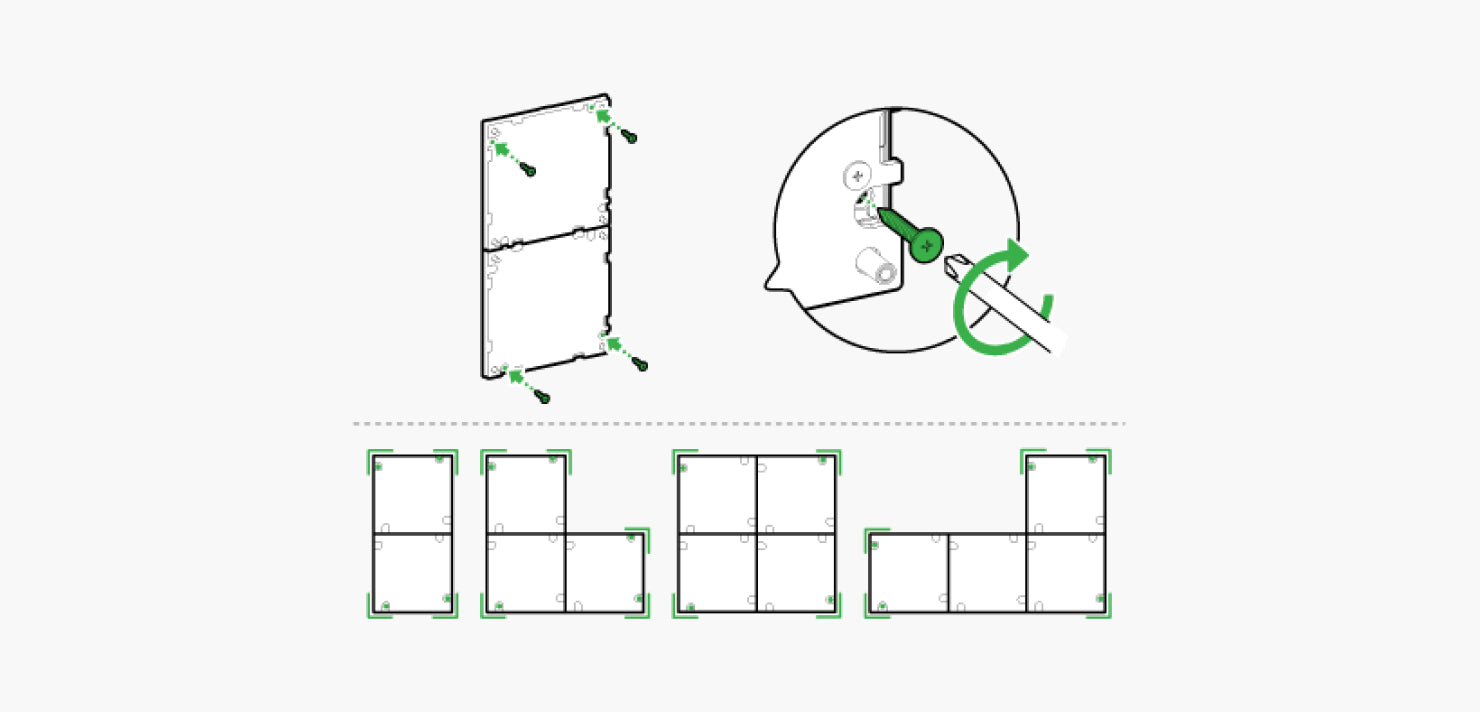
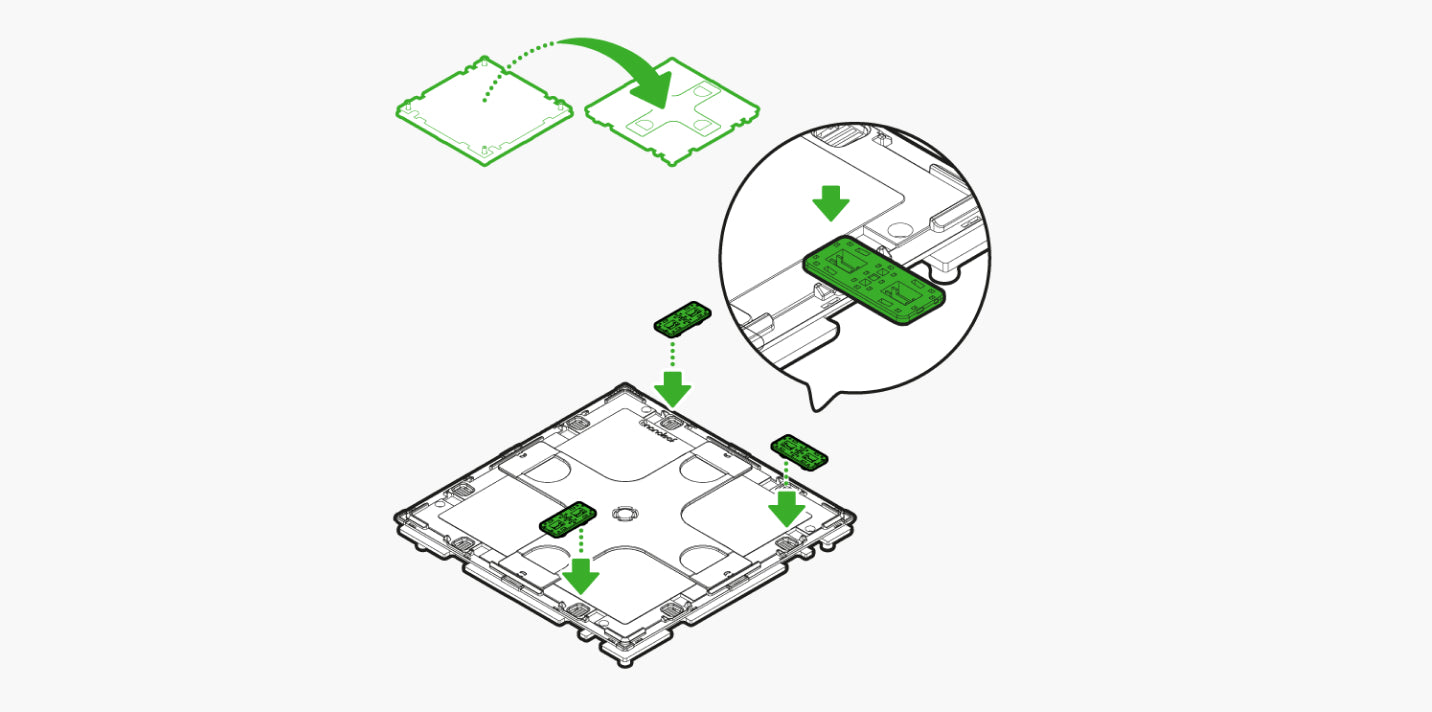
- Add rigid linkers into the available linker spots as needed.
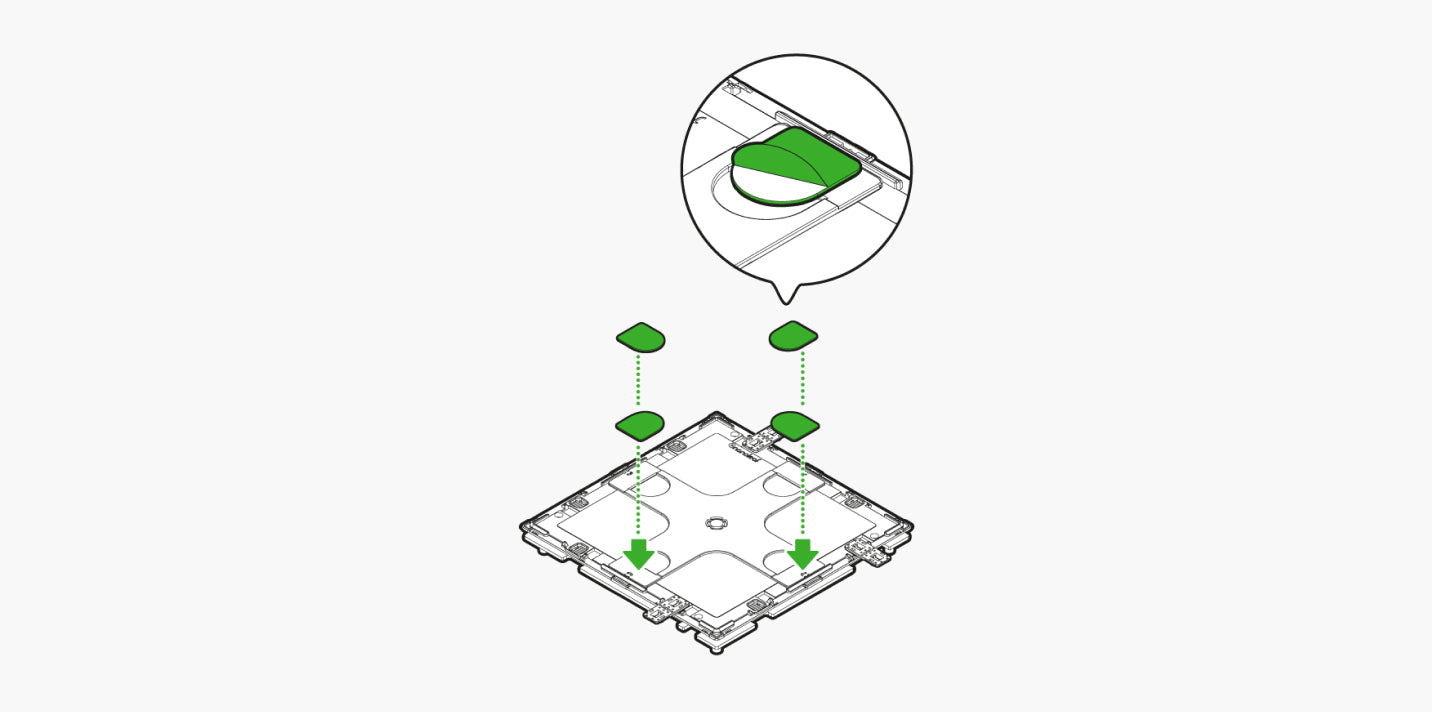
Important: Ensure that all linkers that are needed for your layout are securely snapped into the pegboard as it will be difficult to add more later. - Attach mounting tapes to the back of the panel. Ensure the round end of the tape overhangs the opening in the mounting plate. This will allow you to safely remove them later from the wall.
- Remove the protective liners.
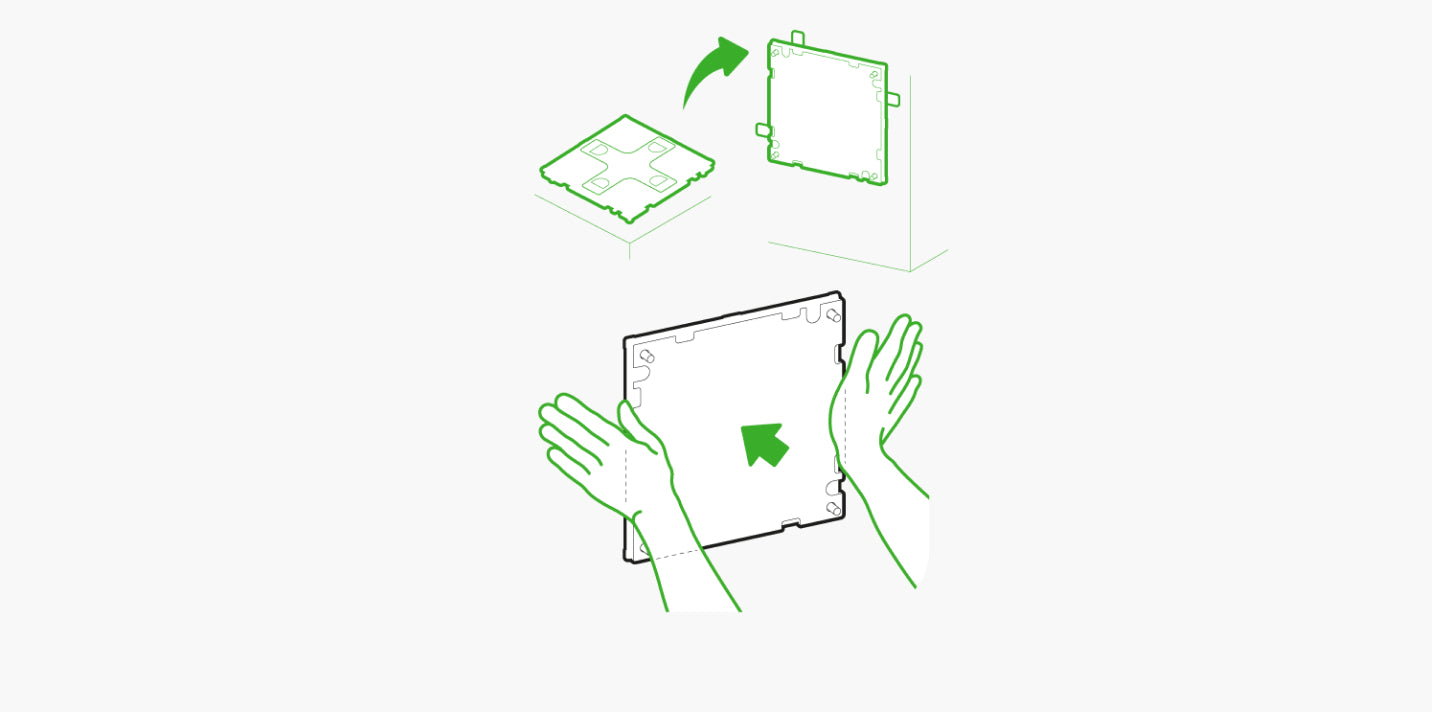
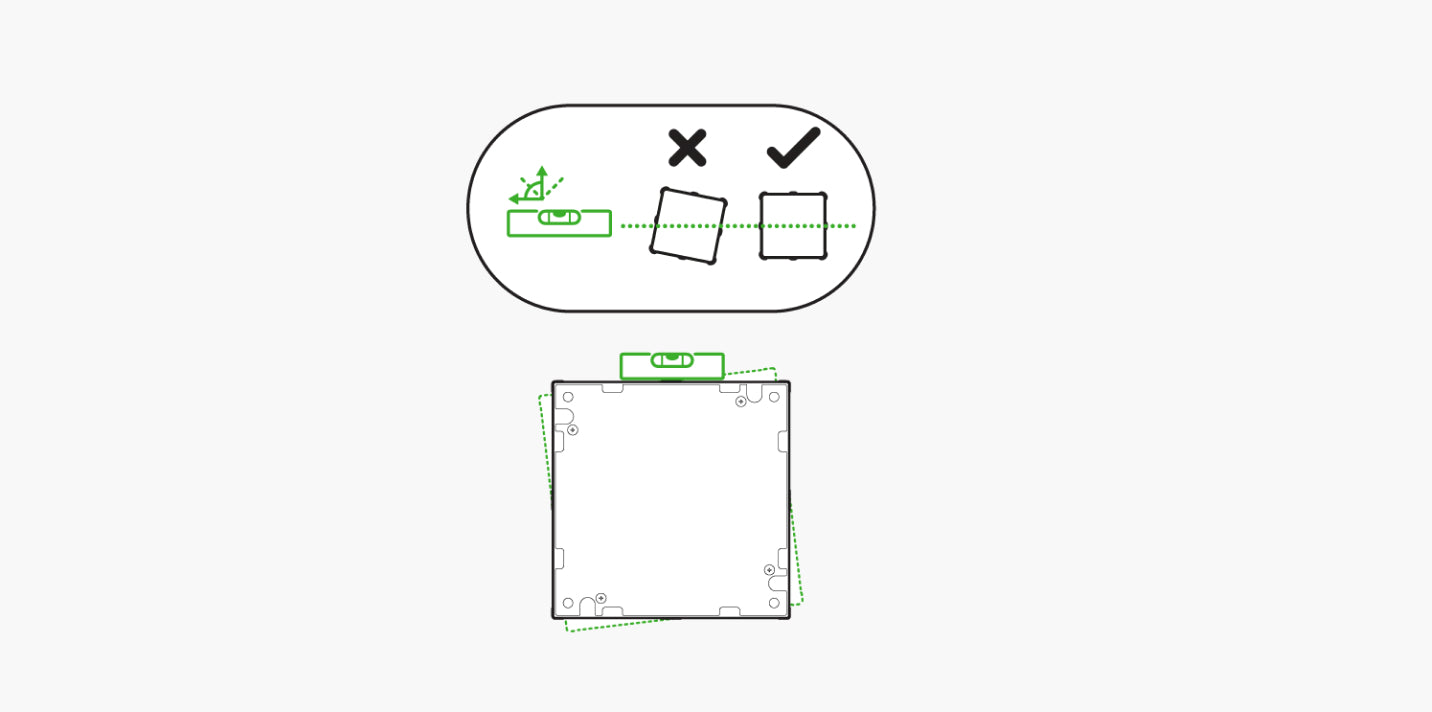
- Mount the back panel of your pegboard by applying strong pressure for 30 seconds to each side of the panel. This will ensure the tape firmly adheres to the wall. You can use a lever to help ensure your panels are straight.
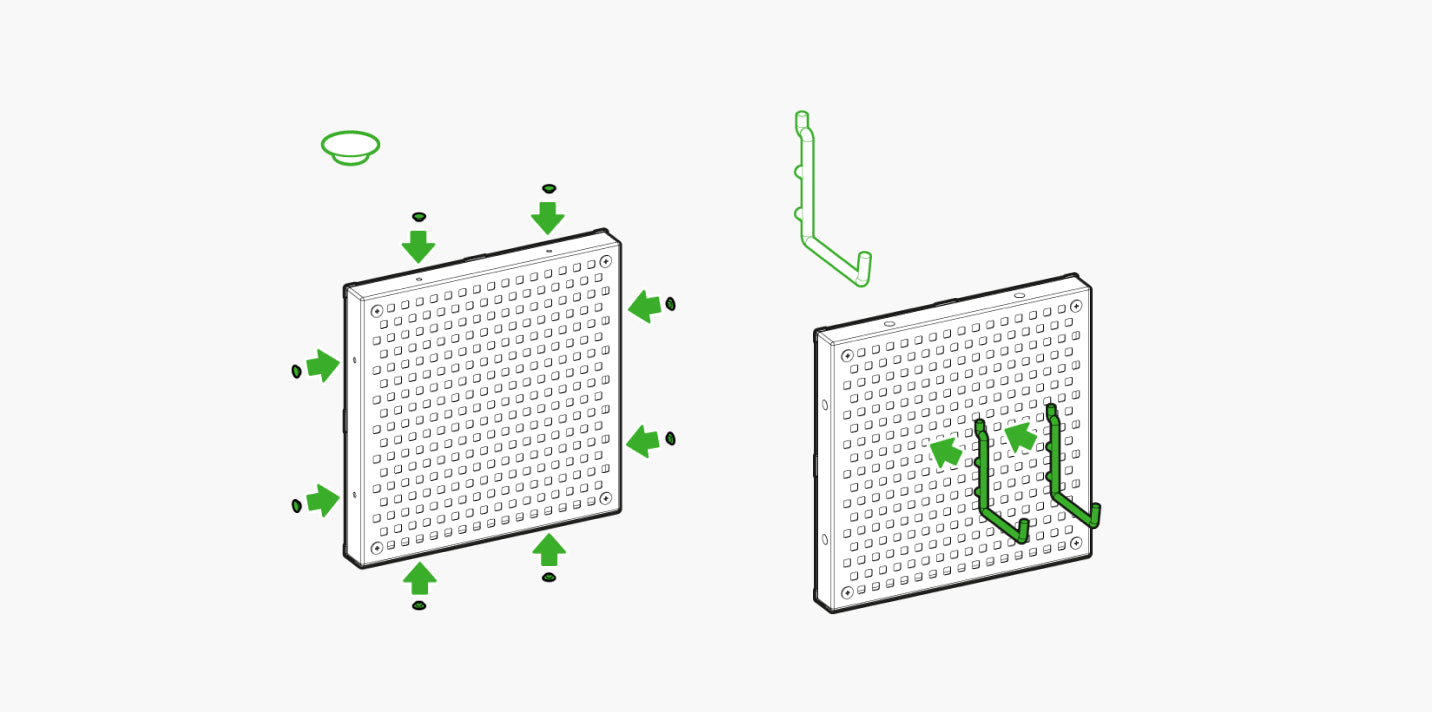
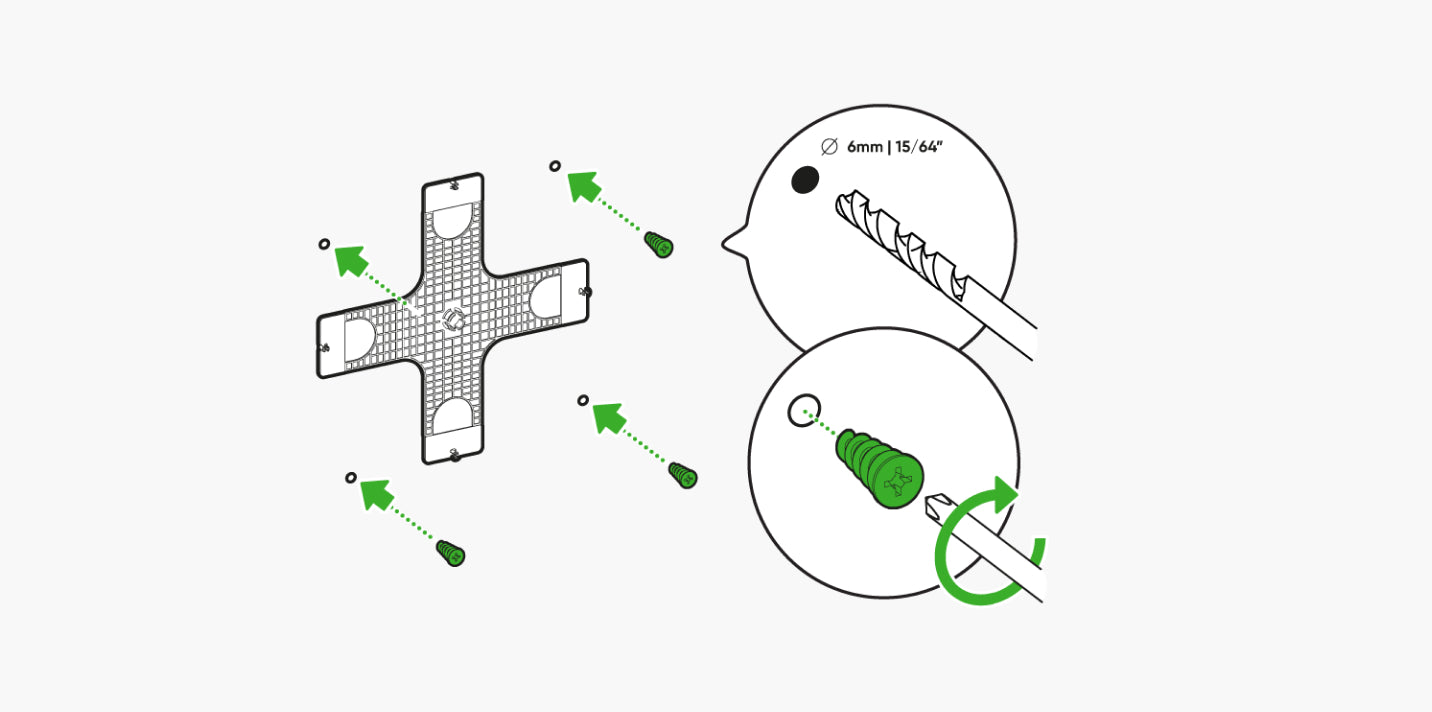
- Mark the holes on each corner of the back panel (shown in image) with a pencil - this is where the anchors will go.
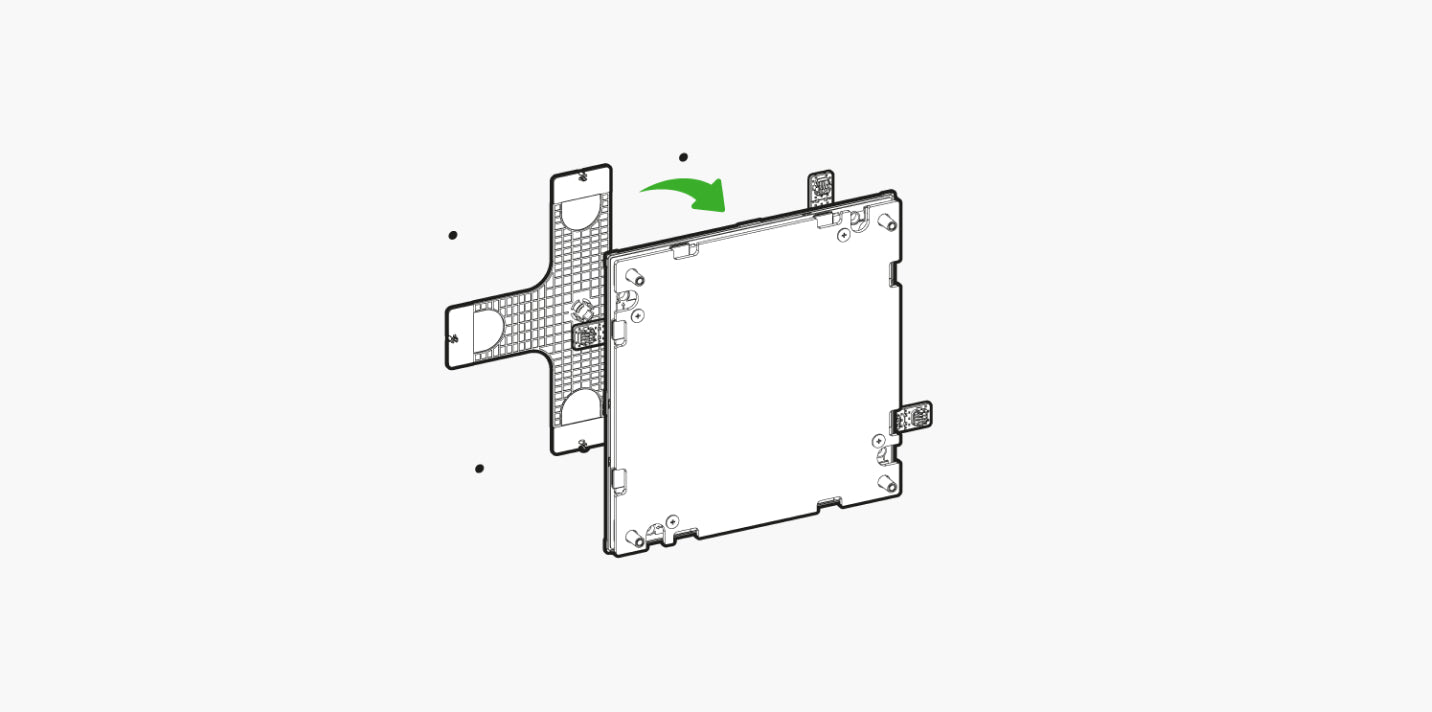
- Pull off the back panel gently, leaving just the mounting plate attached to the wall.Drill holes into the marked areas on the wall.
- Drill holes into the marked areas on the wall.
- Screw anchors into the drilled holes. For concrete walls, use concrete anchors. For drywalls, use drywall anchors.
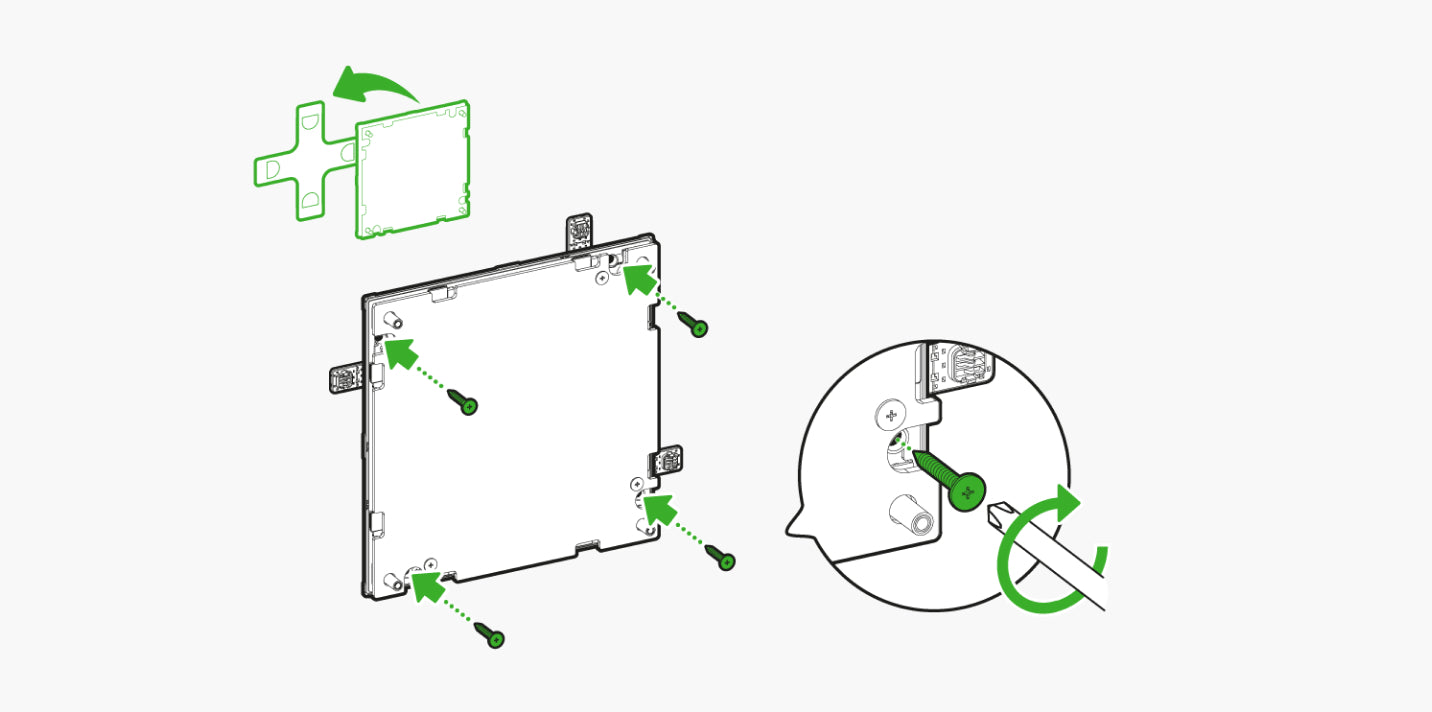
- Reattach the back panel to the mounting plate. Use a screwdriver or drill to drive the pointed screws into the anchors, securing the back panel in place.
- Place the pegboard cover back onto the back panel and secure it in place using the screws saved from step one.
Connecting Multiple Pegboards in a Cluster
Note: Skip to Step 3 if you do not have pegboard clusters in your layout.
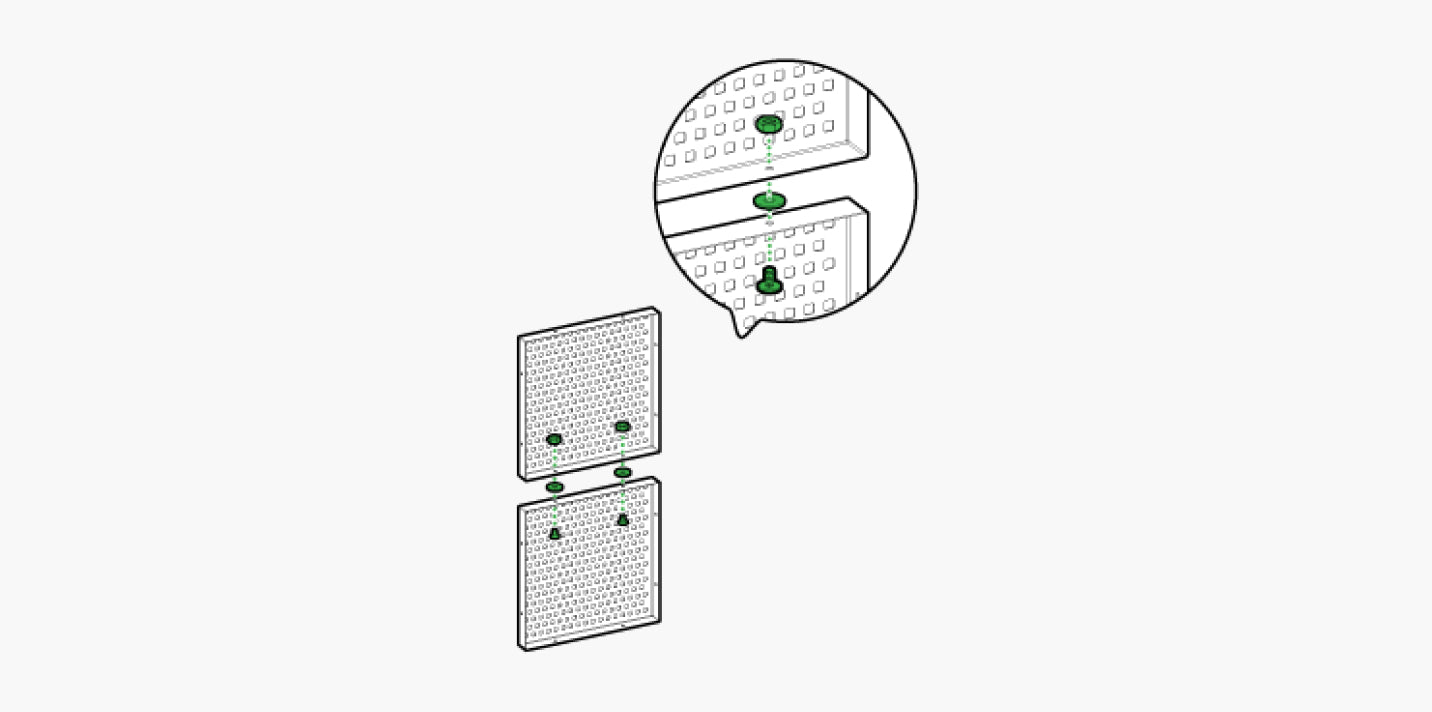
- Connect pegboard covers using the silver pegboard screws, washers, and hex nuts.
- Attach the connected Light Pegboard covers onto the back panels. Screw all the white Light Pegboard screws back in, as shown in the image.
- Continue to link your other panels together and ensure that each panel lights up. Remember to attach all needed linkers before you mount the next panel to the wall.
- After you have finished your layout, add silicone covers around the perimeter of the pegboard to cover any open holes.
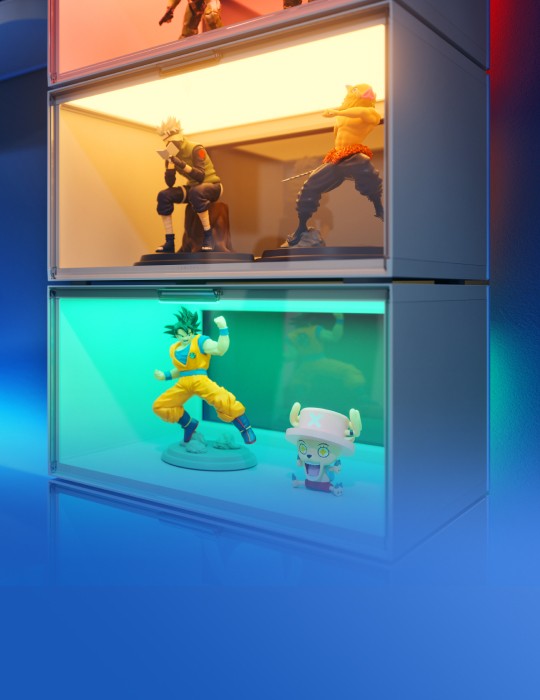
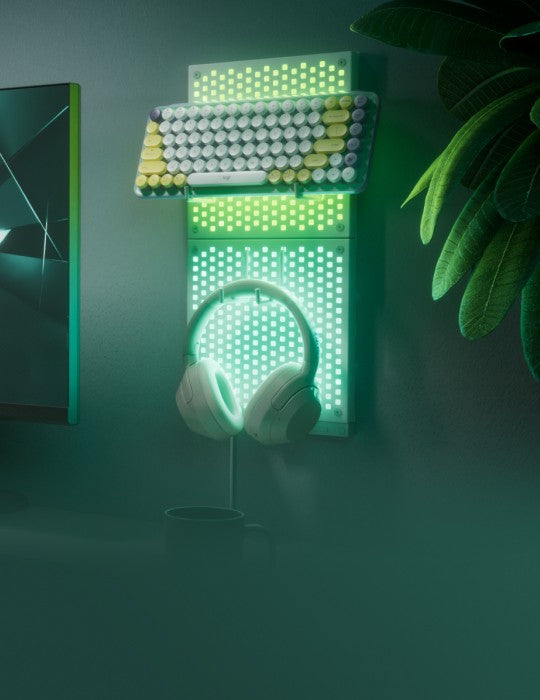
- Attach pegboard hooks to store objects on the pegboard (up to 3kg max.). Fit the pegboard hooks into the slots and then pull down to lock them in place.