


Installing Your Blocks
Video tutorial for installing your Blocks
1
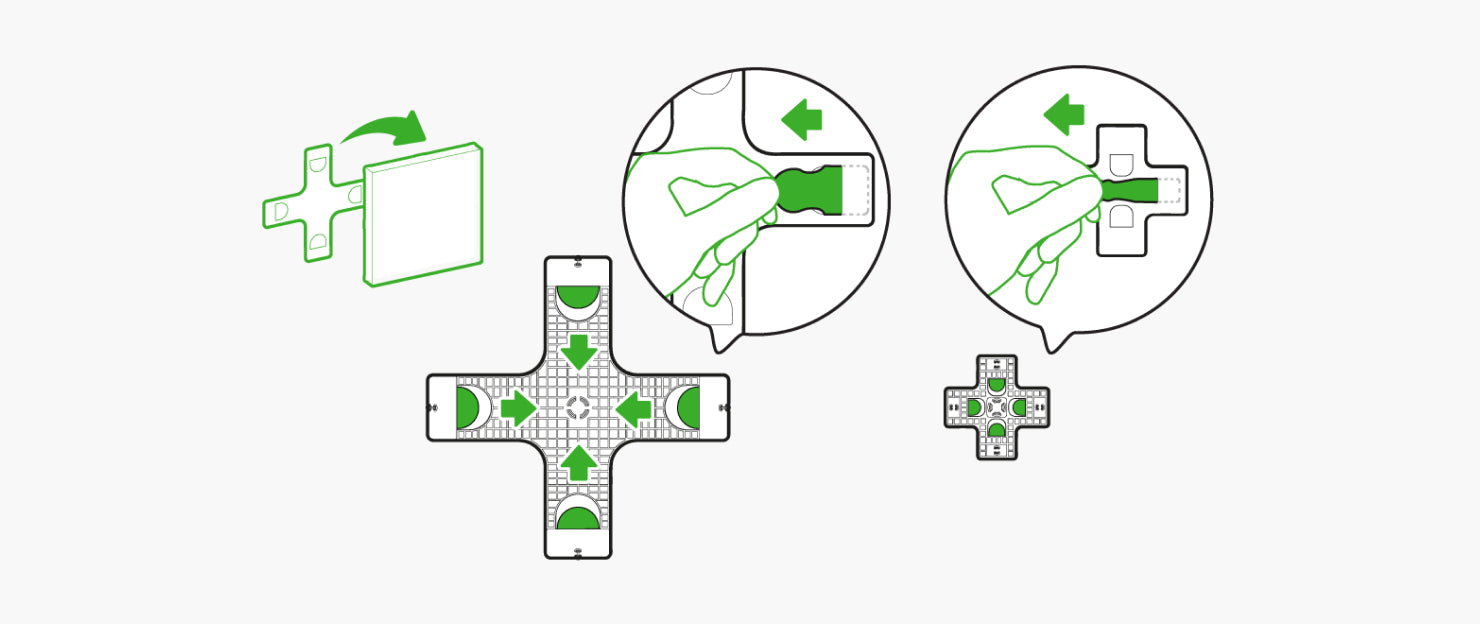
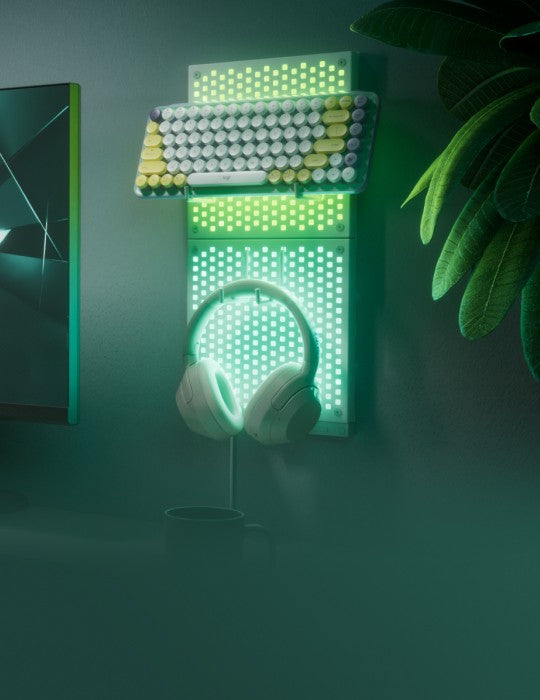
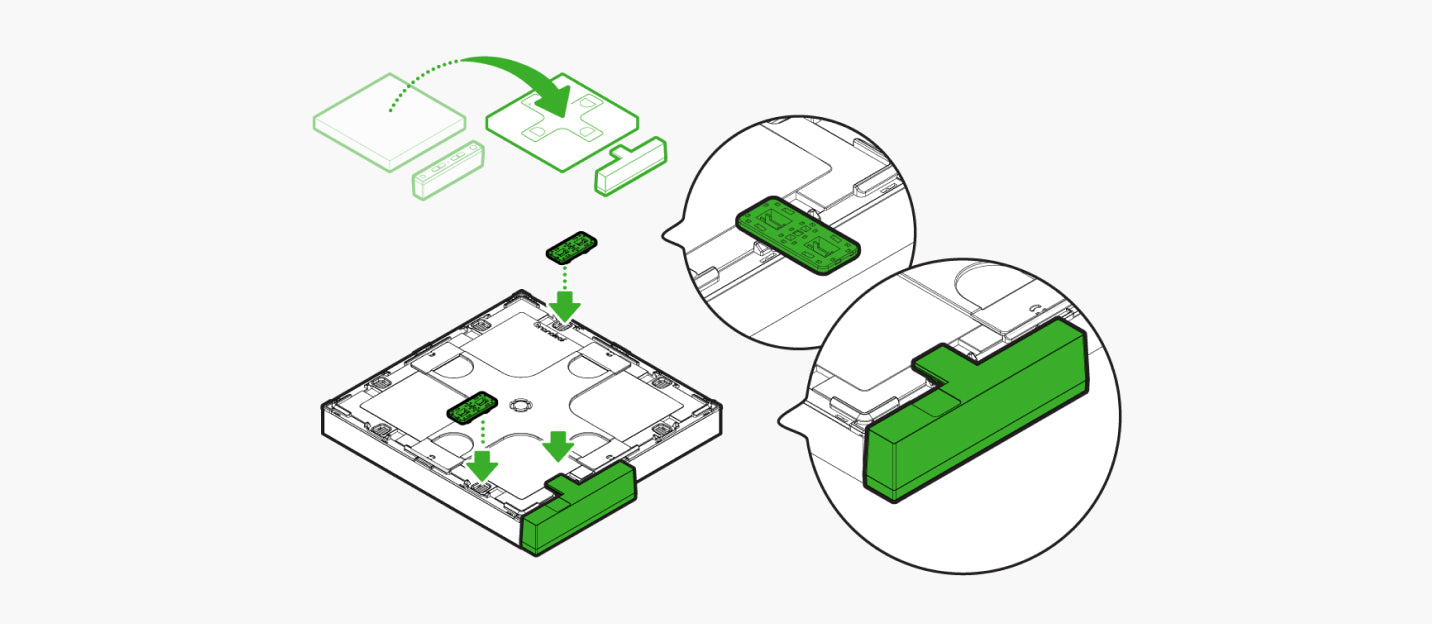
Installing Squares
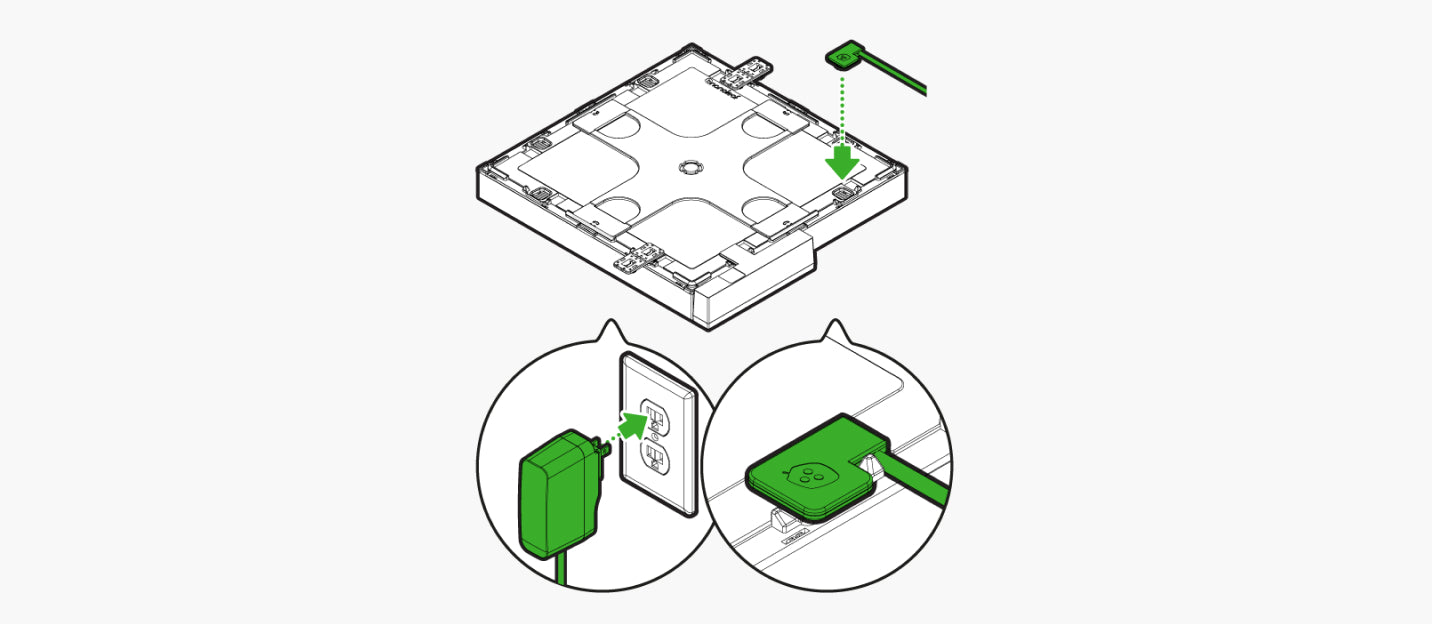
- Designate a panel from your setup as the starting panel. Attach the controller and all needed linkers.
- Connect your Power Supply Unit and plug the other end into a power source to ensure that your setup is on as you continue to connect your panels together.
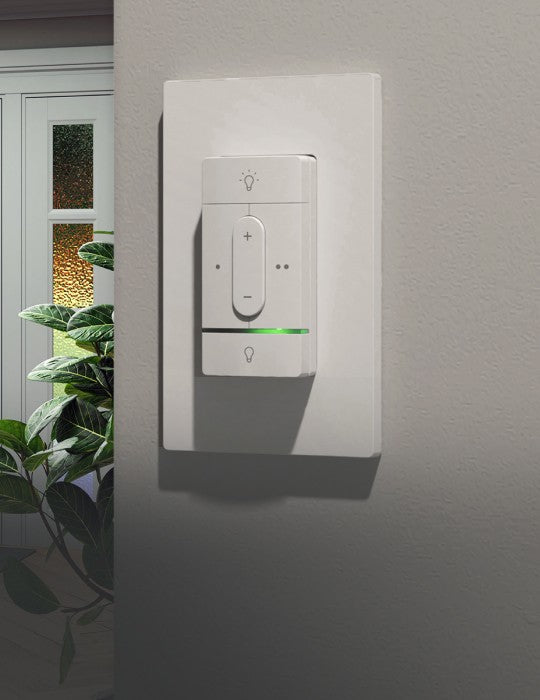
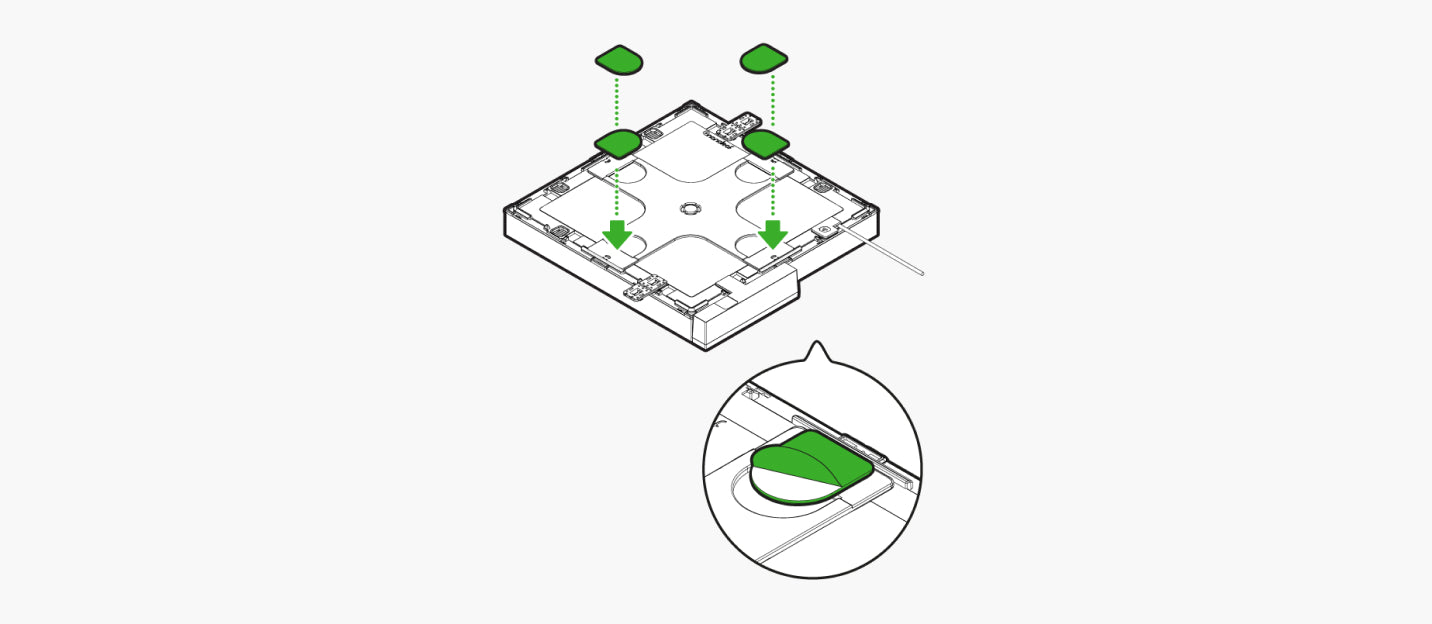
- Attach mounting tape to the back of the panel and remove the protective liners.
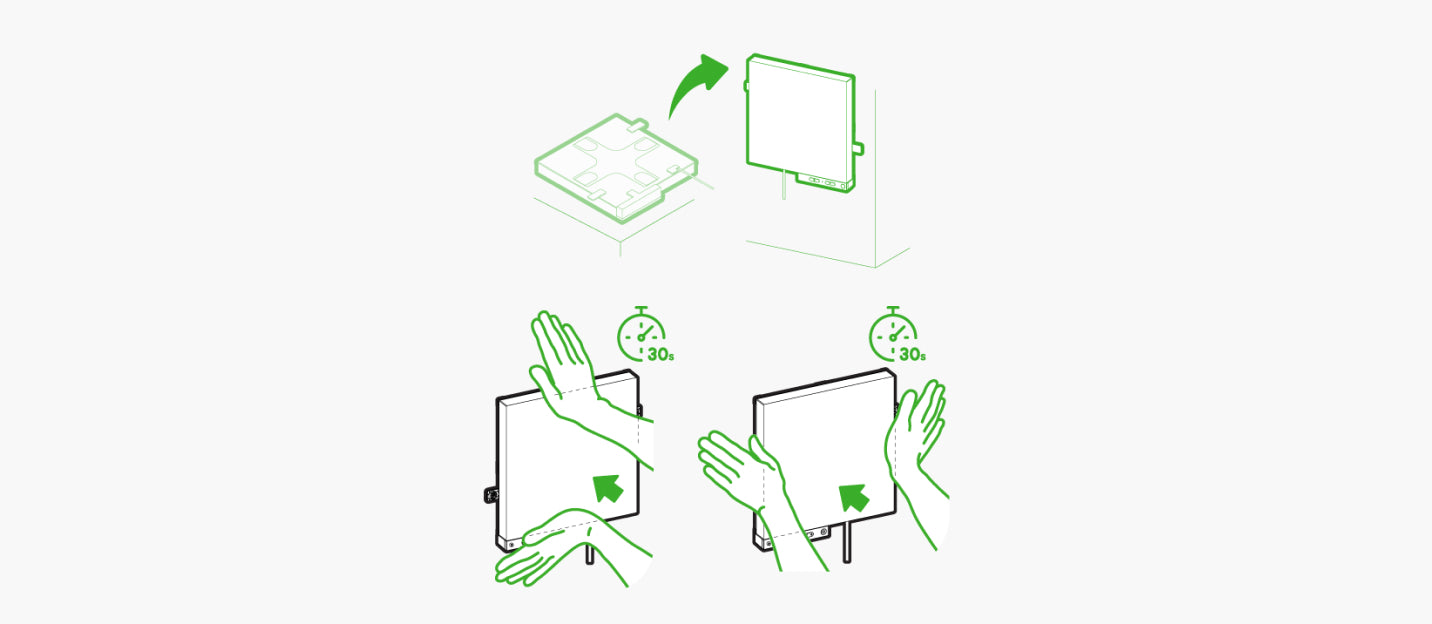
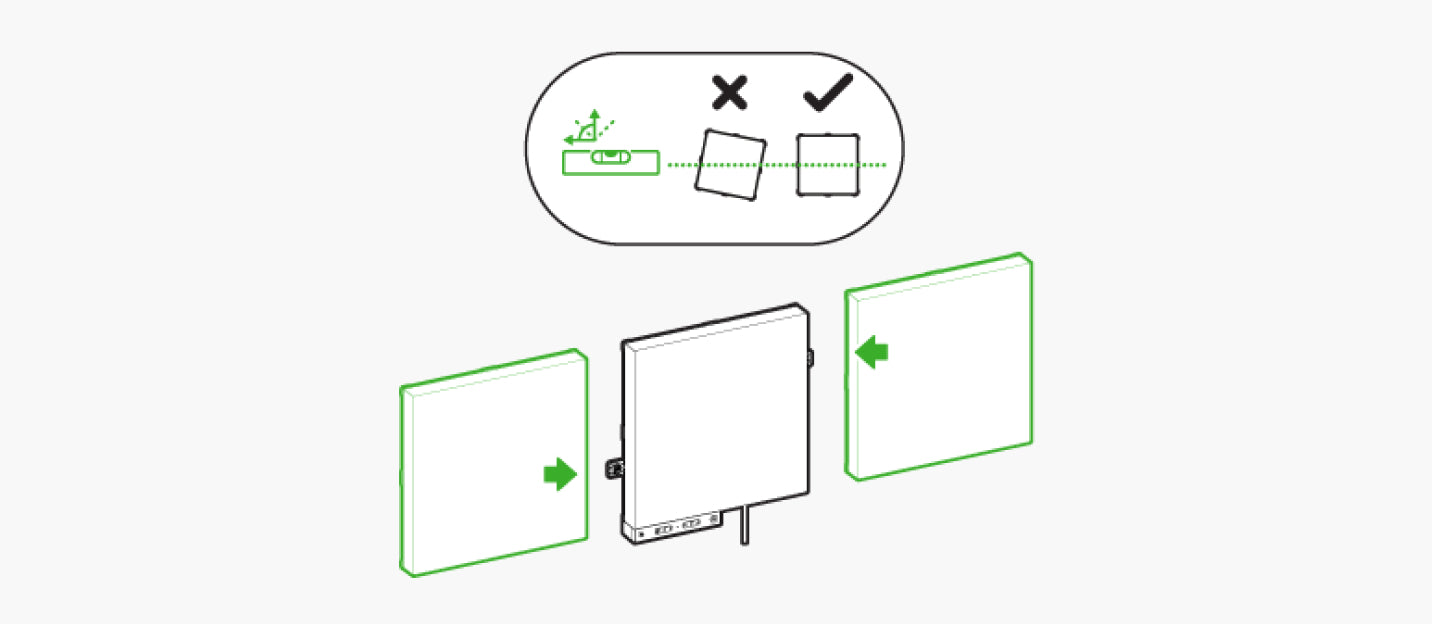
Note: Before mounting your first panel, make sure the round end of the tape overhangs the opening in the mounting plate. This will allow you to safely remove them later from the wall. - If this is the first panel in your layout, use a level to check that the panel is straight while you mount it. Mount your panel by applying strong pressure for 30 seconds to each side of the panel. This will ensure the tape firmly adheres to the wall.
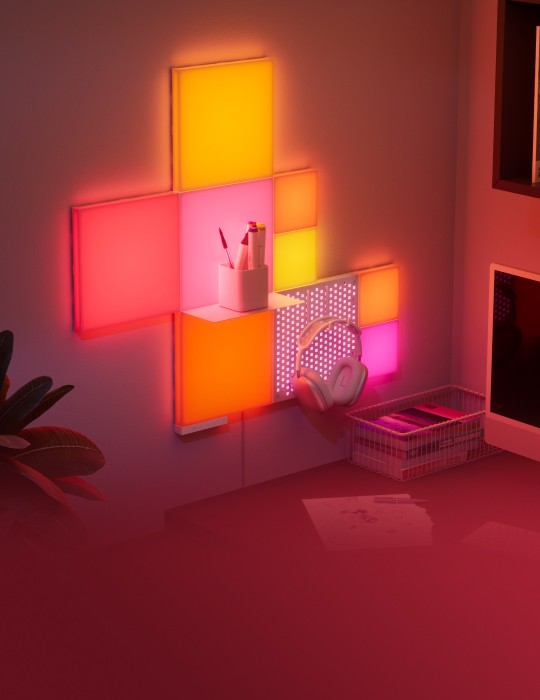
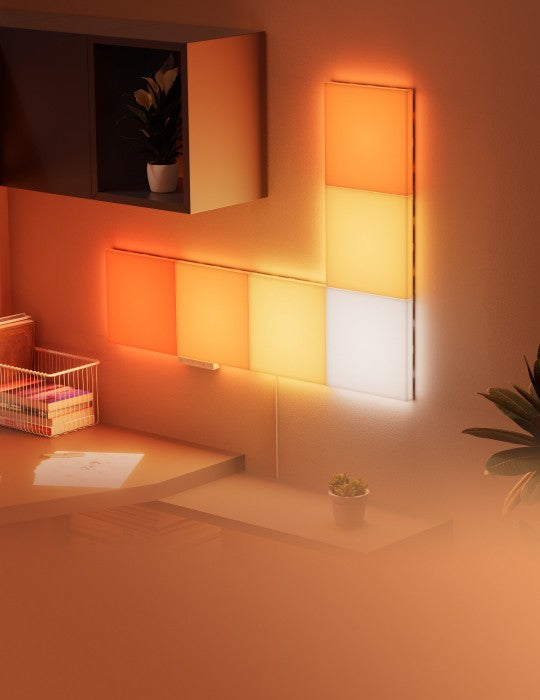
Note: Squares have 2 linker slots per side, allowing for offset connections. - Continue with the same process for the rest of your panels in your layout.
Installing Squares Step 1
Installing Squares Step 2
Installing Squares Step 3
Installing Squares Step 4-1
Installing Squares Step 4-2
2
Uninstalling Panels
To uninstall your Blocks Panels, remove the panel, leaving the mounting plate on the wall. Pull the tape from under the tabs very slowly so the tape stretches and does not snap. The mounting plate will release from the wall once all tape has been removed.