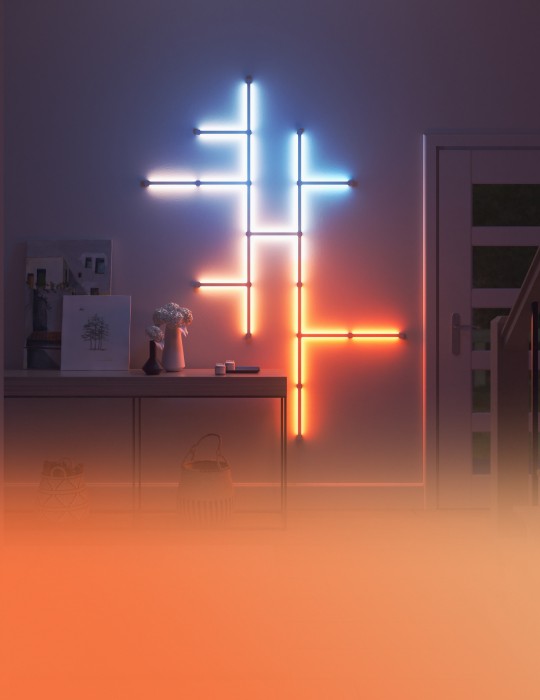
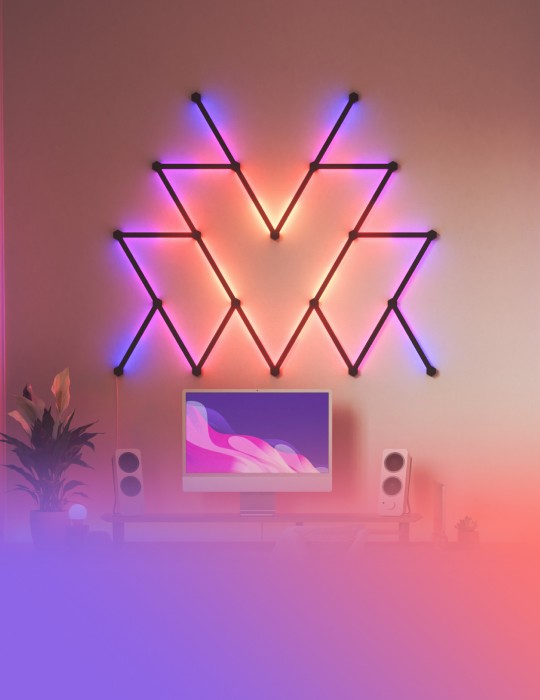
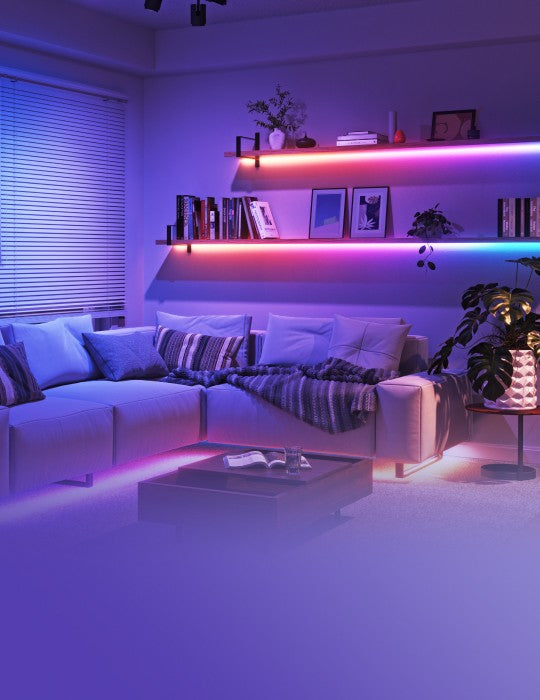


Mounting Your Lines
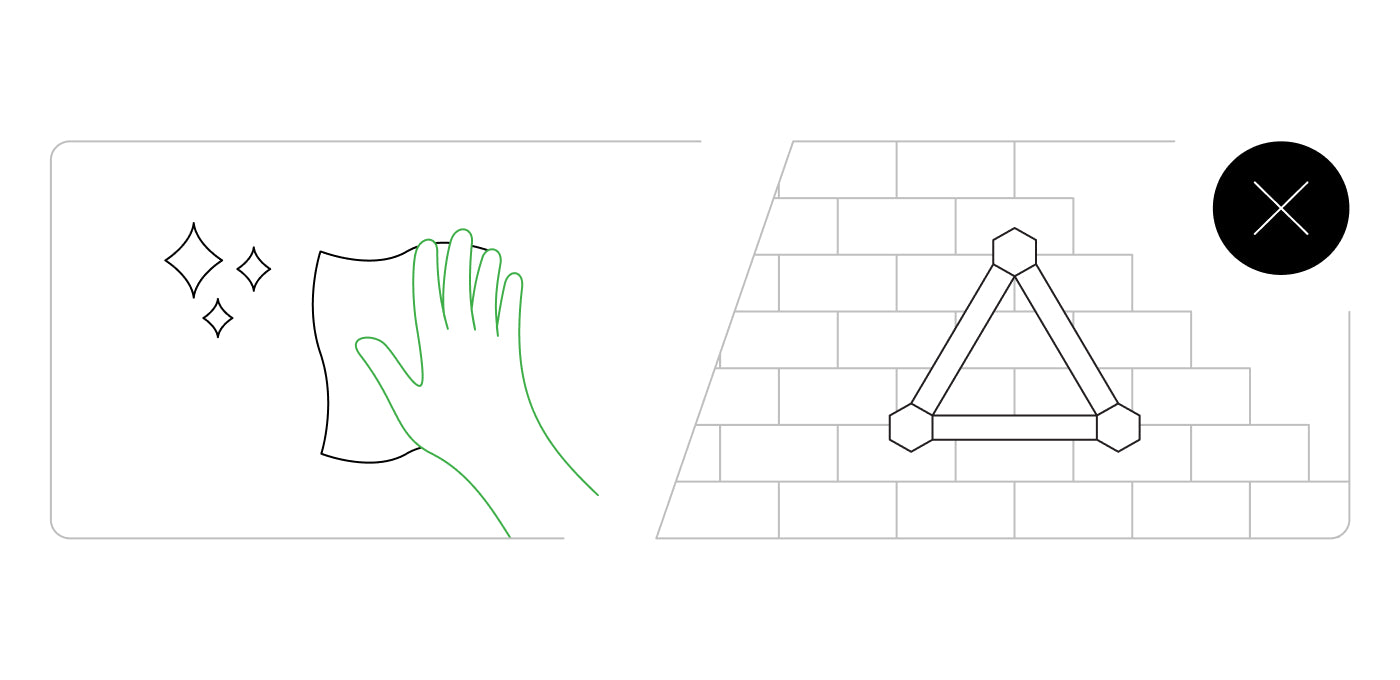
Prepare Your Surface
Nanoleaf Lines should only be installed indoors and on a flat surface that can support the weight of the Lines. Clean your surface to be free of dust, moisture and oil. The included Mounting Tape is NOT recommended for textured, porous surfaces (ie. wallpaper or brick walls), popcorn walls /ceilings, and mirrors. See detailed guide for ceiling installations.
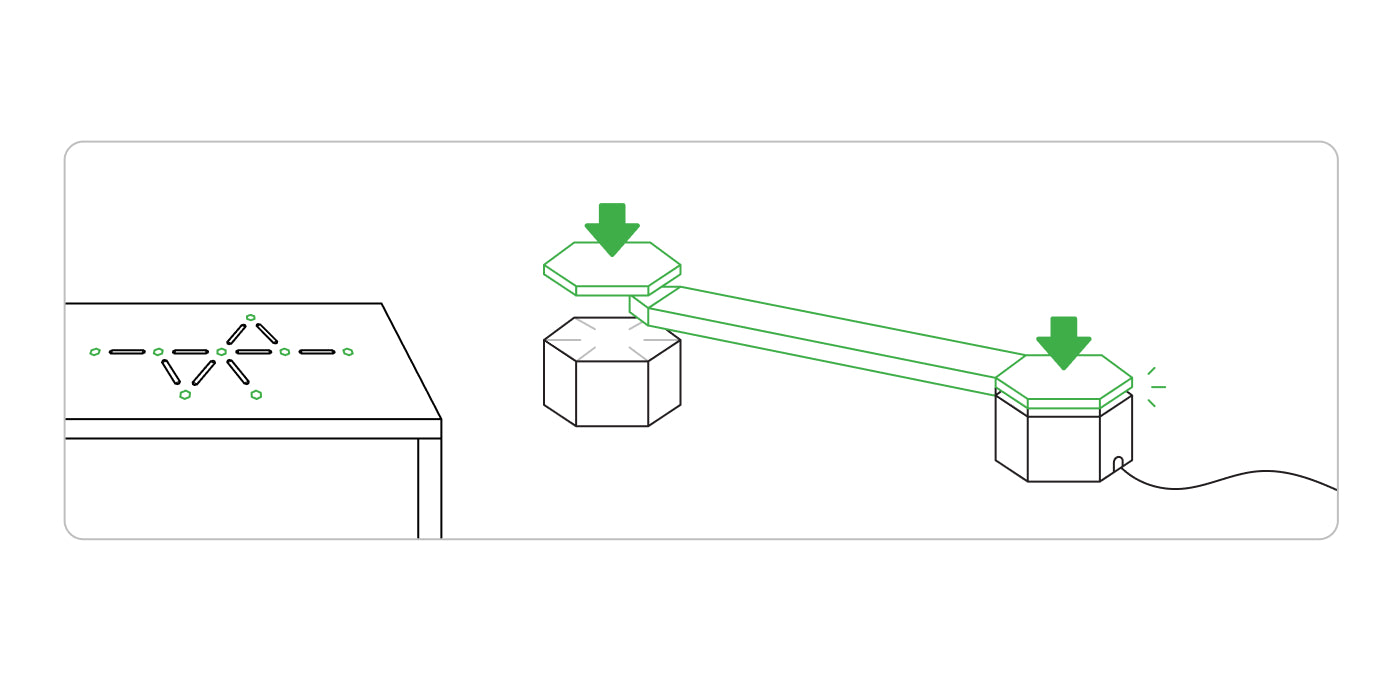
Build Your Layout
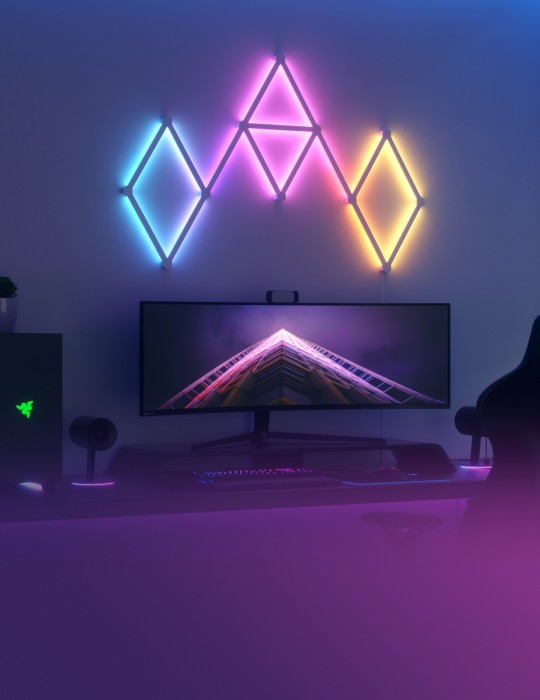
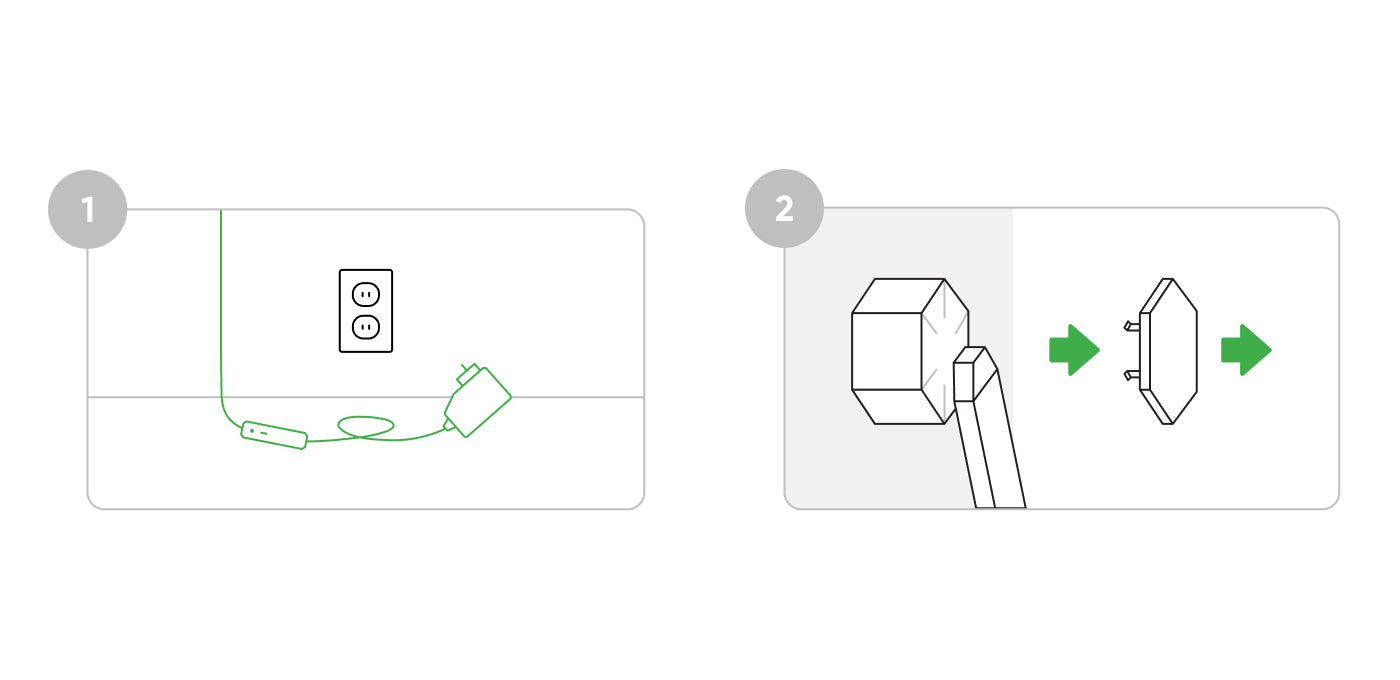
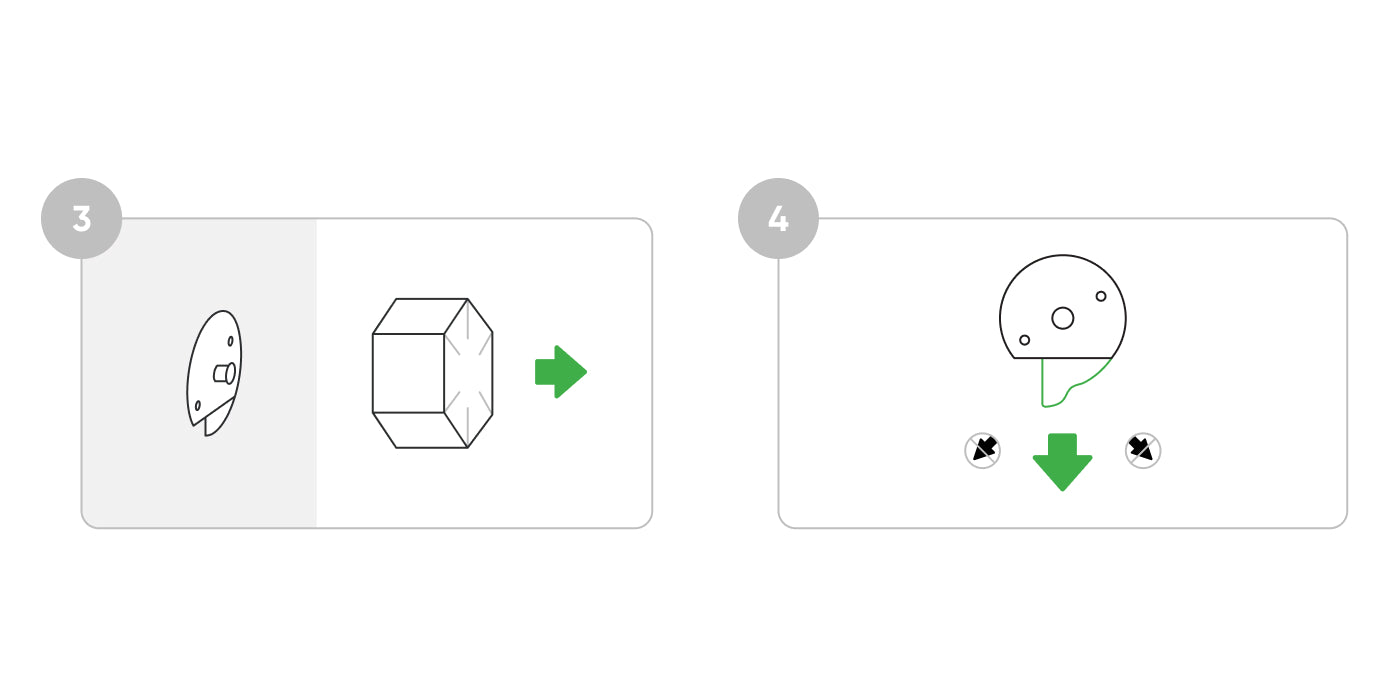
Design your layout on a table or the floor. Once you are happy with your design, secure your Lines60Degrees with the60Degree Connector Caps.
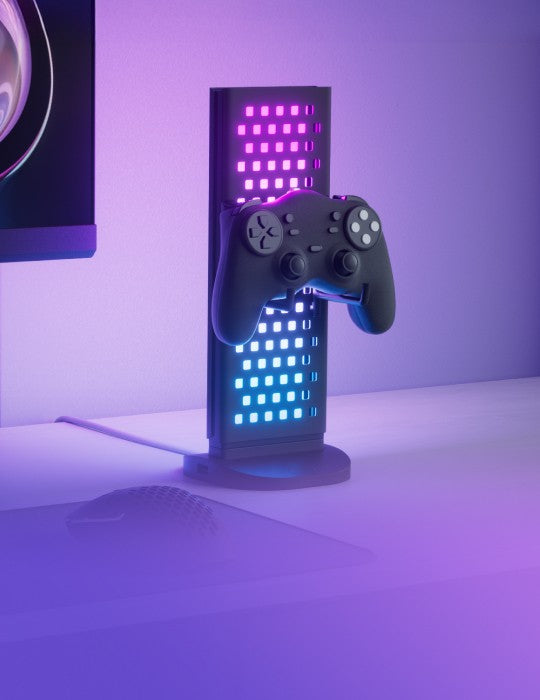
Note: the Controller Cap with buttons can be attached to any Connector!
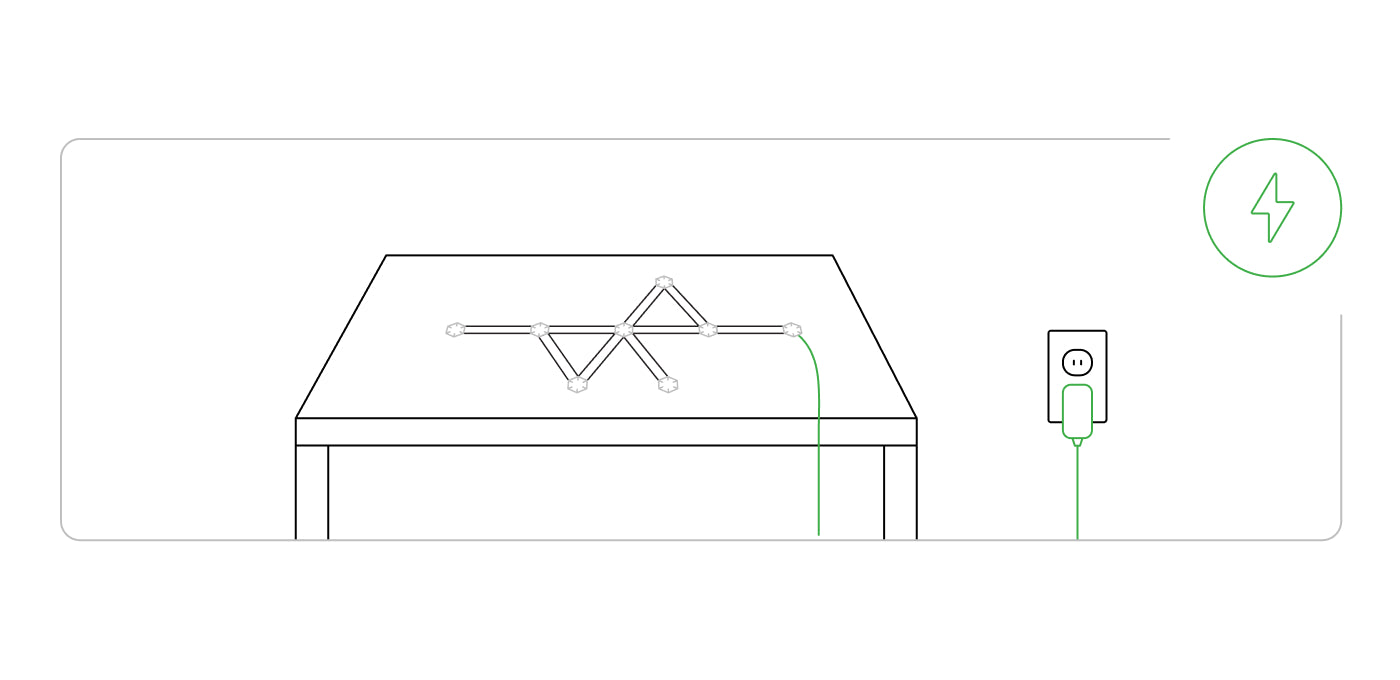
Connect the Power Supply
Plug it into power to make sure your Lines turn on and are working properly.
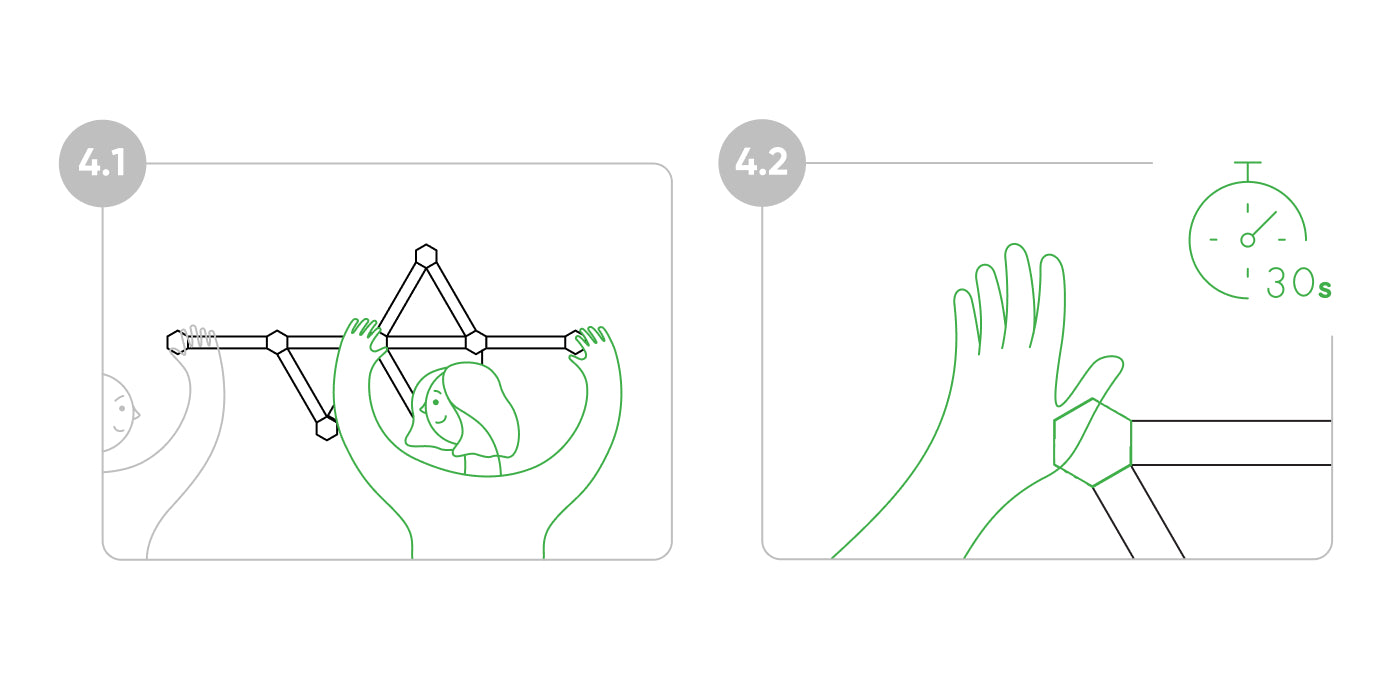
Mount Your Lines
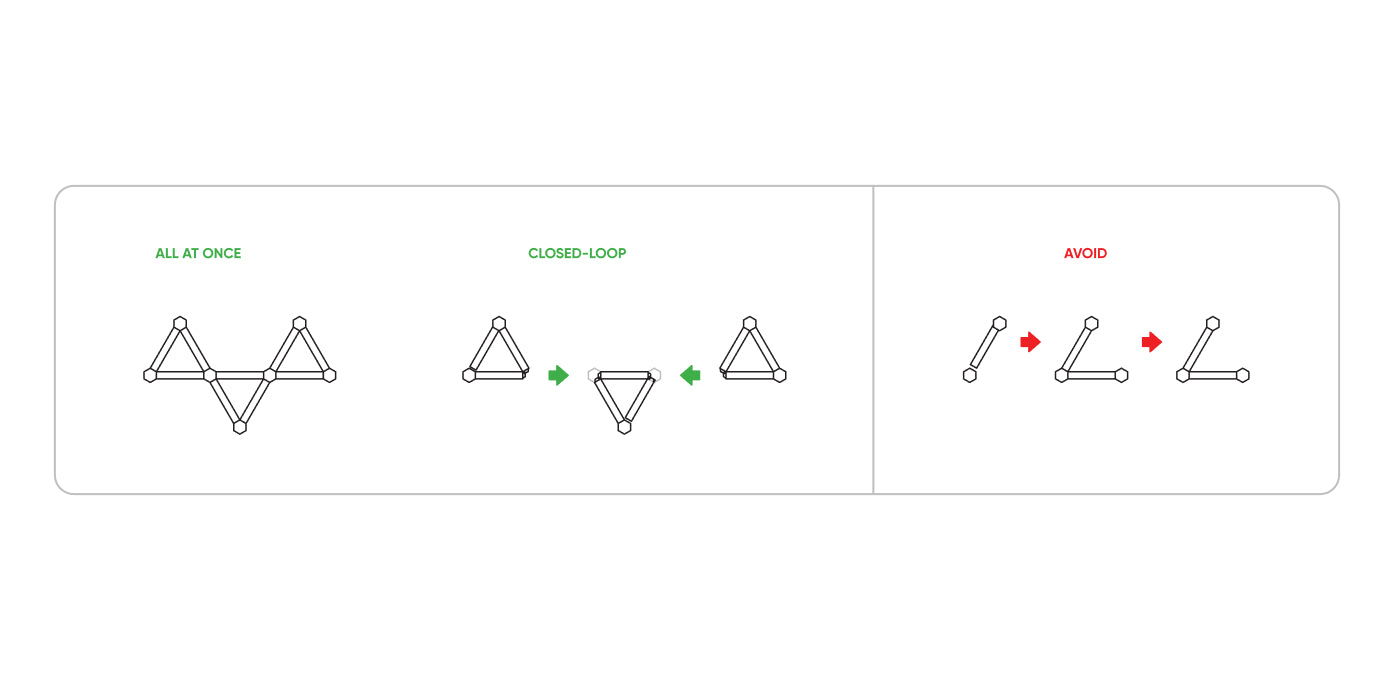
Grab a friend to help with mounting your layout (4.1). For the best results, mount your layout all at once. For larger designs, mount in sections; be sure to mount closed-loop layouts together (triangles, hexagons, etc.). Carefully lift up your Lines60Degrees layout and peel off the backing of the Mounting Tape. Press each of the Mounting Connectors against the wall for 30 seconds to secure your layout to the wall (4.2)
Note: Need more Mounting Tape? Purchase more here
Ceiling Installation
For a more secure installation, including for your ceiling installs, use the screw-mount solution (Screws not included).
Note: the screw mounting solution is still designed for SMOOTH surfaces/ceilings only.
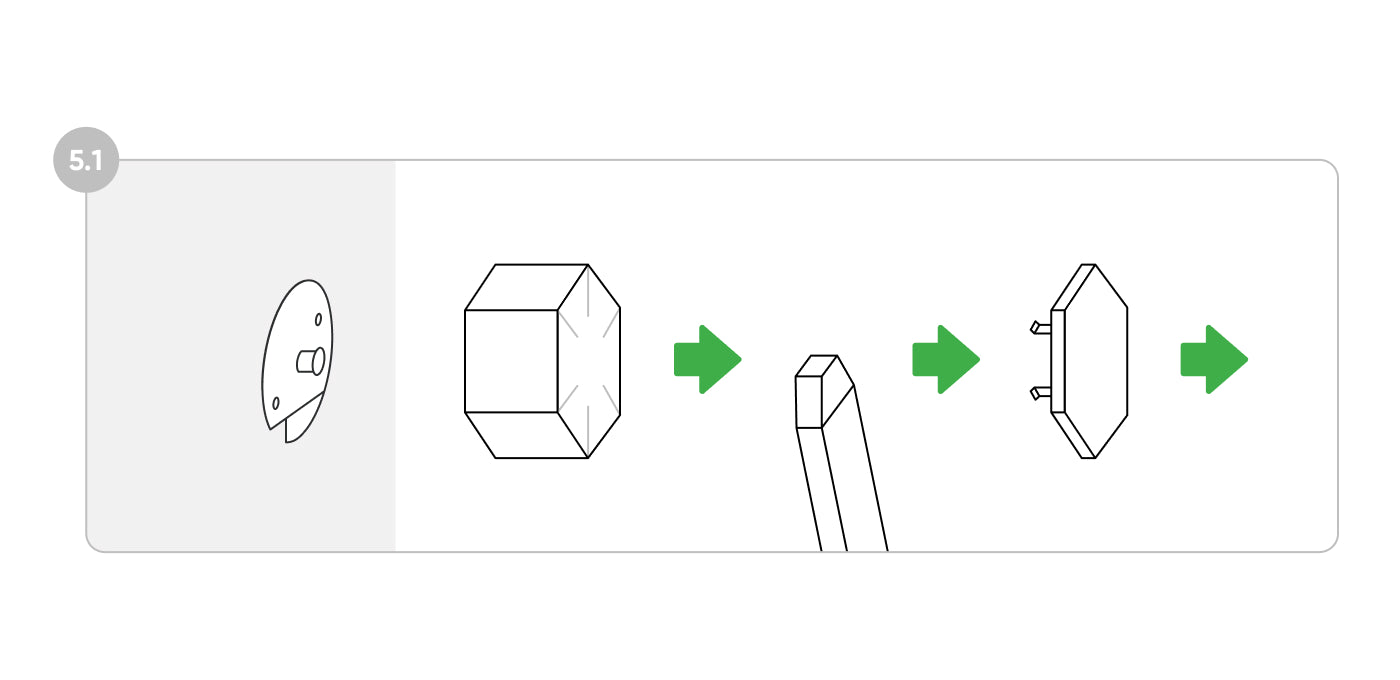
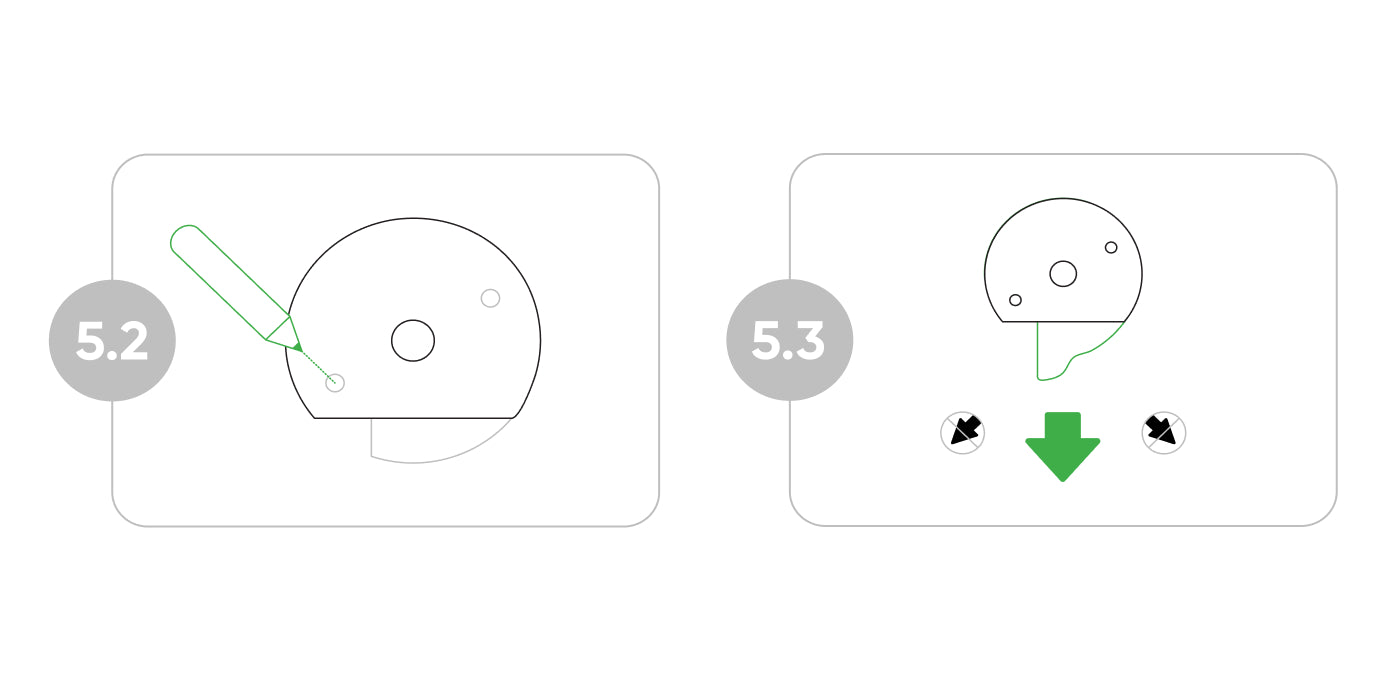
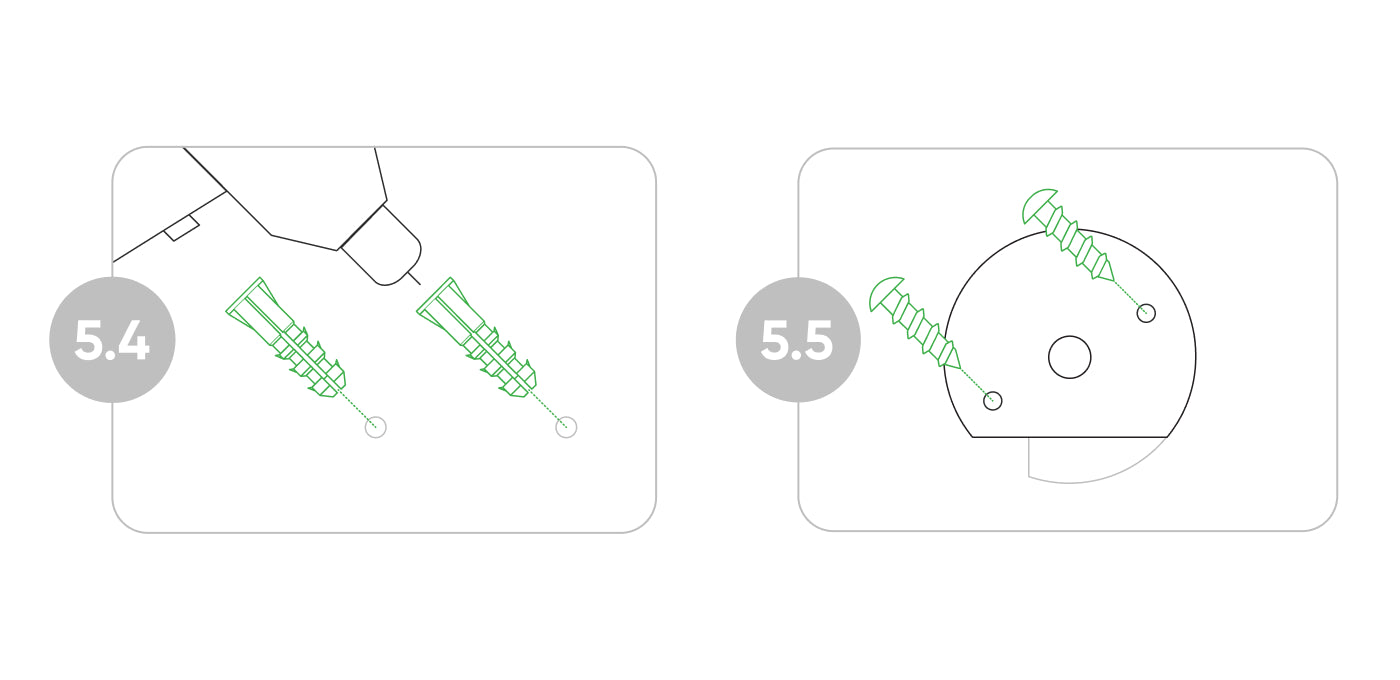
Mount your Lines design to the ceiling first using the included Mounting Tape. Remove the light lines then carefully pull Mounting Connectors off to reveal the Mounting Plates which should be still adhered to the ceiling(5.1). Mark the screw holes (5.2) and then remove the mounting plate (5.3). See below how to safely remove Mounting Plates. Drill pilot holes and install anchors. Please proceed with extra caution for hole alignment, large screw mount tolerance offset may lead to disruption of closed loop layout assemblies (5.4). Fasten Mounting Plate to anchors with screws (5.4). Once secured, attach the light lines and Mounting Connectors back onto the Mounting Plate.
Need to Dismount Your Lines?
Gently snap off the Connector Caps, then gently remove the light lines from the Mounting Connectors (1). Carefully pull the Mounting Connectors away from the attached surface (2). The Mounting Plate will remain adhered to the wall. With one hand on the Mounting Plate, use your other hand to pull the end of the exposed tape along the wall until fully removed (3).
Note: Do NOT pull perpendicular from the wall or at any other angle, otherwise, you may damage your wall (2).
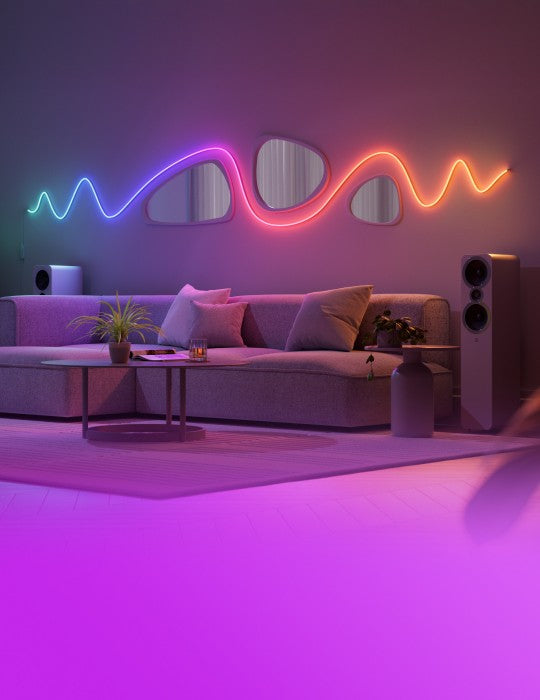
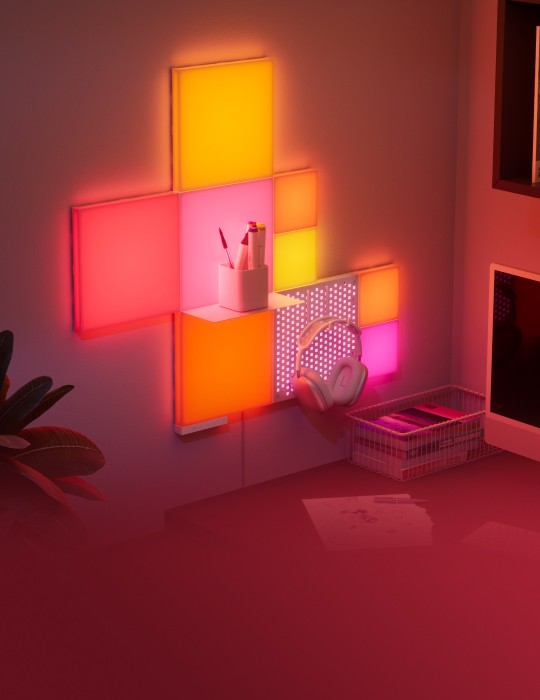
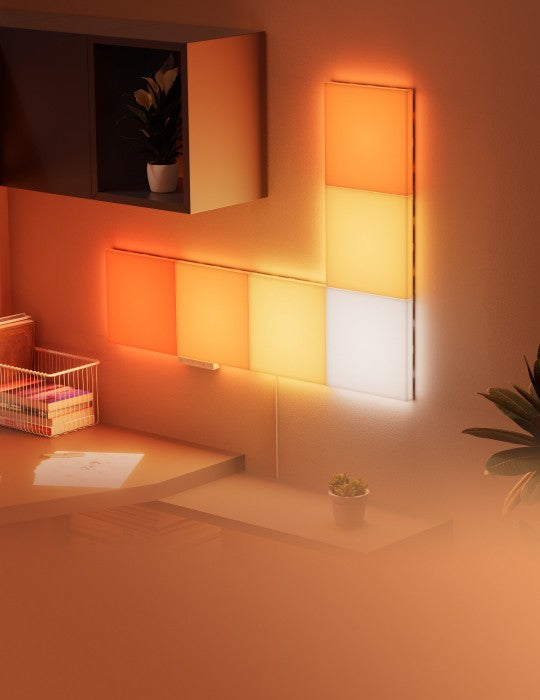
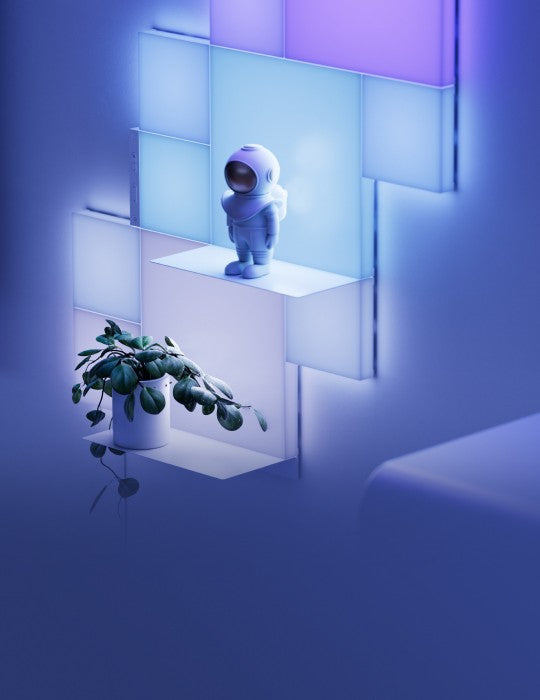
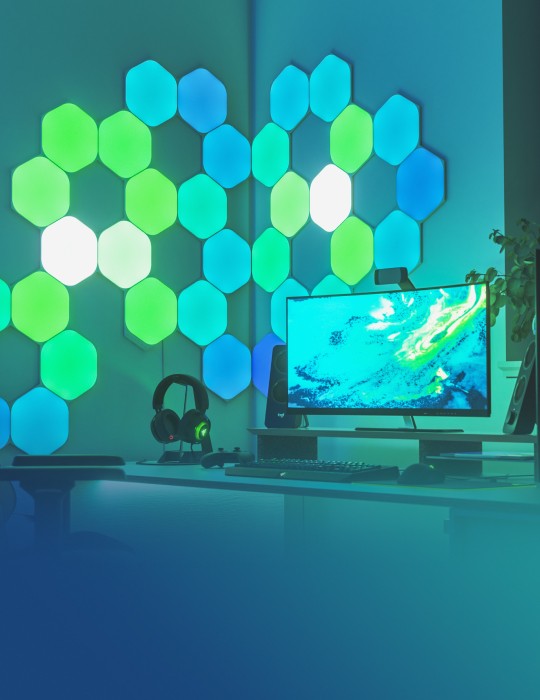
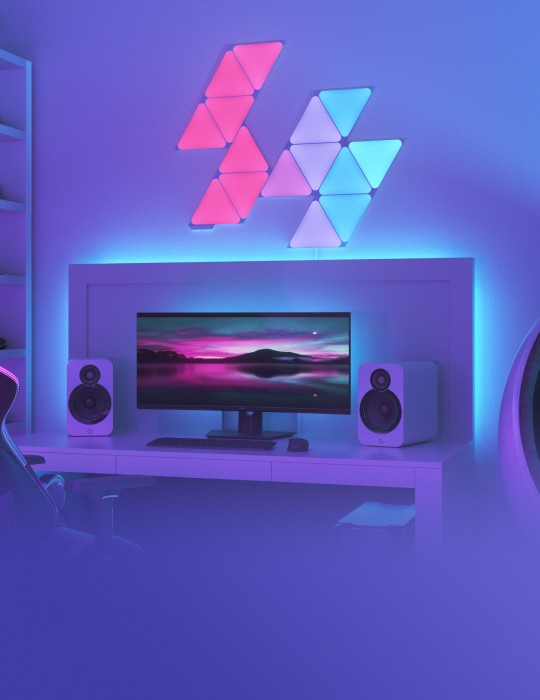
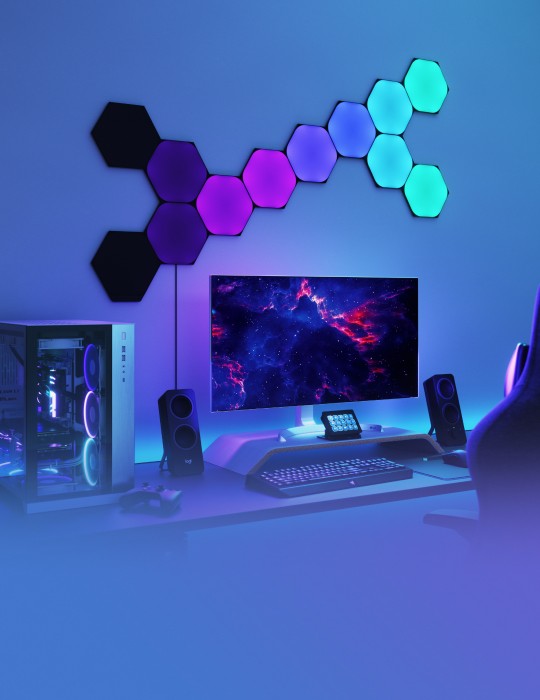
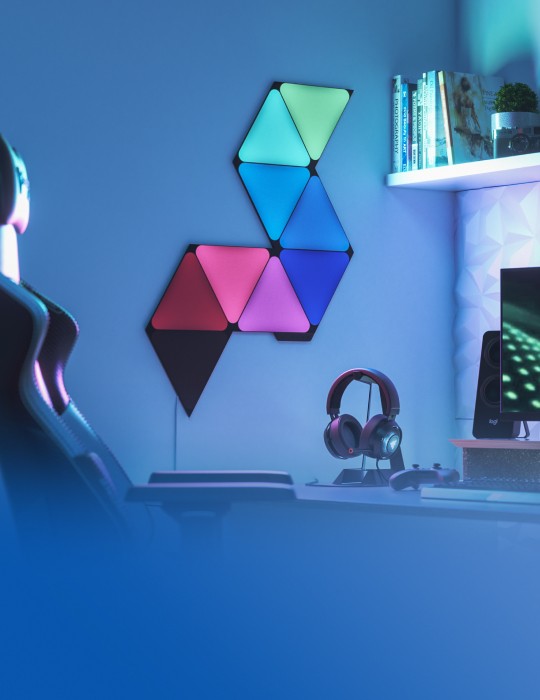
Expand Your Masterpiece!
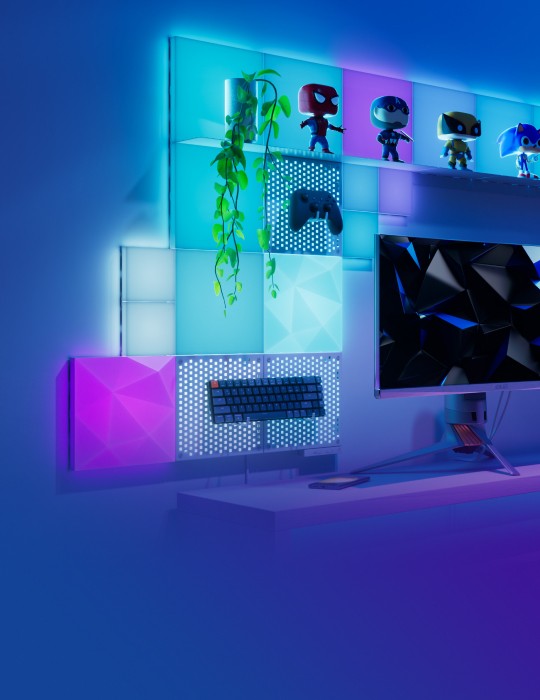
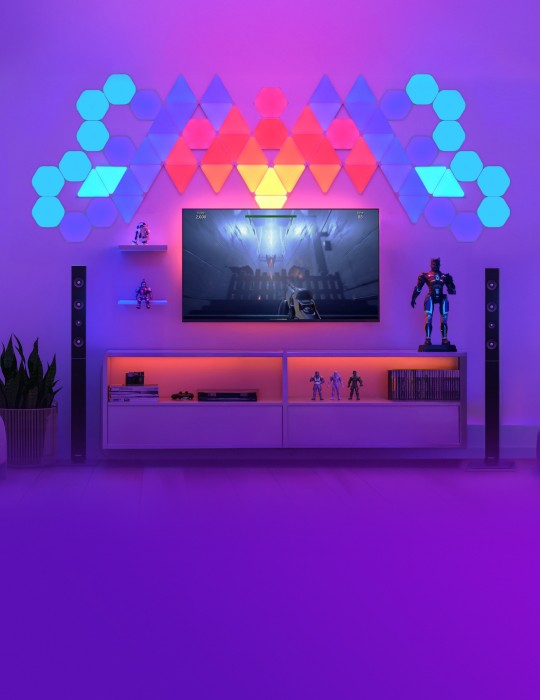
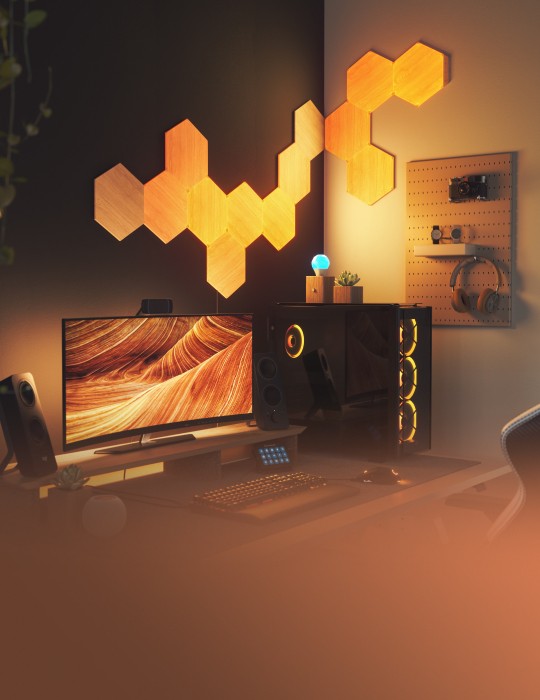
Embrace your creativity and grow your setup with Expansion Packs.